
Create a Fill My Schedule Holiday Campaign in ServiceMonster
This walkthrough covers first-time setup, building your card, choosing your audience, and approving your order.
Set Up Your Fill My Schedule Account
New to Fill My Schedule? Complete this quick signup first. Existing users can skip ahead to the campaign section below.
Step 1: Click FMS on the left-hand side.
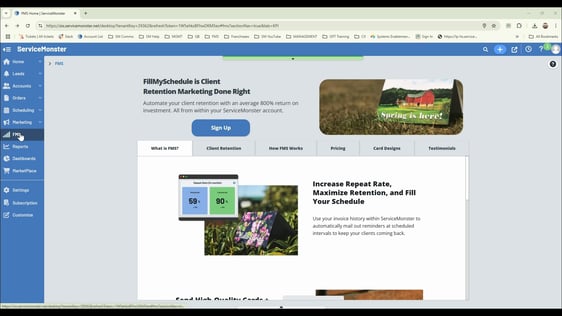
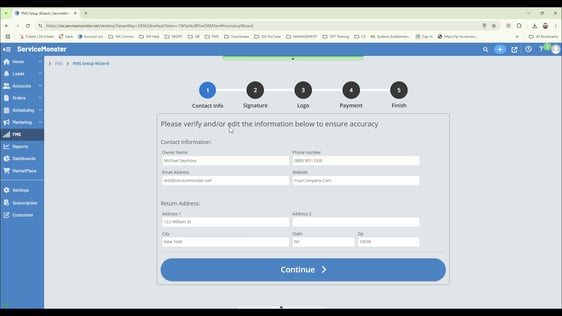
Step 2: Enter basic information about your company, then click Continue.
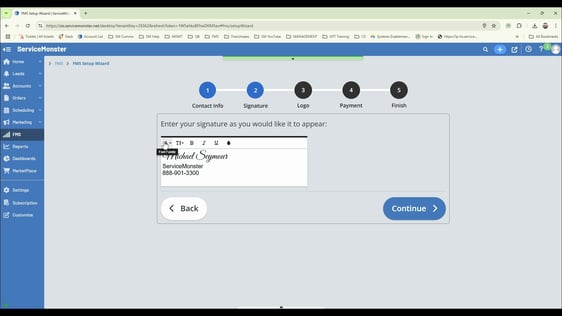
Step 3: Review the sample signature we created for you. Edit it if you'd like, choosing different fonts and font sizes. Click Continue.
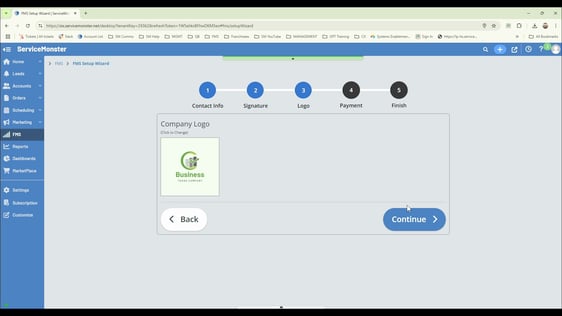
Step 4: Upload your logo if you haven't already into your Settings - Company Settings section of ServiceMonster, then click Continue. Maximum size is 800x800 pixels.
Step 5: Choose how you'll pay for Fill My Schedule, then click Continue once more.
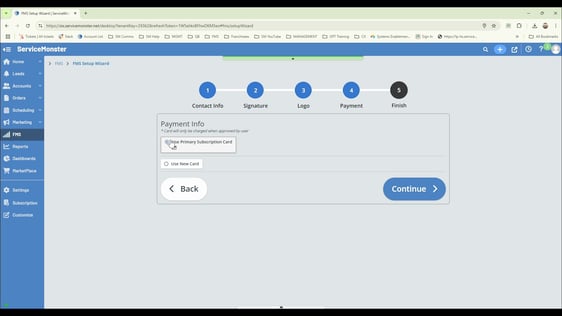
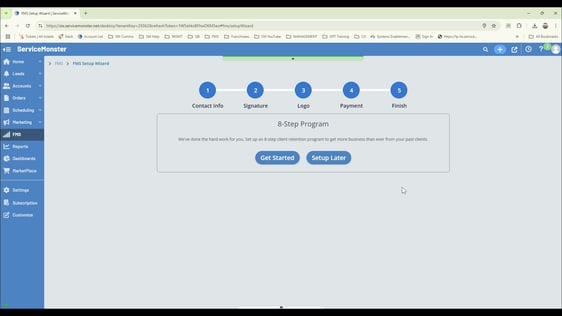
Step 6: When you reach the eight-step program, click Set up later.
Step 7: Click OK.
Create Your Holiday Campaign
From here, the process is the same for all Fill My Schedule users. We're going to create a new campaign, choose the card design, enter our message & choose the clients you want to send your card to, and approve our order. Don't worry, it's quick & easy!
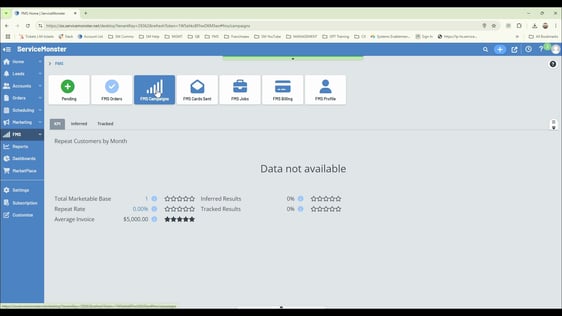
Step 1: Click FMS campaigns.
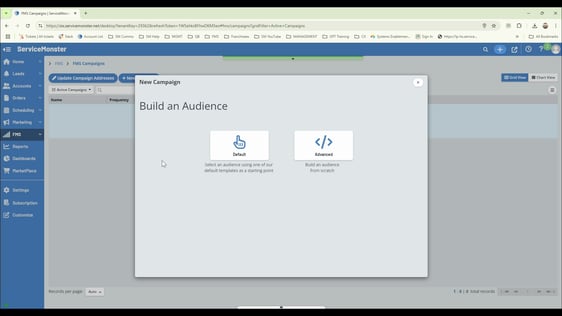
Step 2: Click New Campaign.
Step 3: Choose Default from the premade options, then select Holiday.
Step 4: Click Done to start building your campaign.
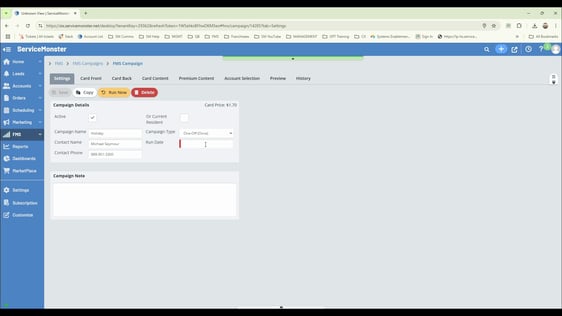
Step 5: Choose today's date for the Run Date so you can save and approve the campaign instantly when we're done.
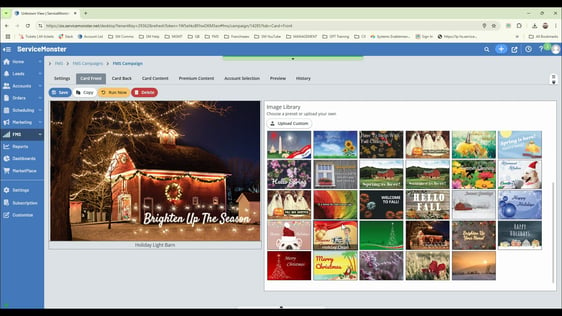
Step 6: Choose your card front. The barn and scene design is selected automatically, but you can pick a different option, like the red card front. You can also upload your own custom image using the Upload Image option. You can learn more here: Designing Card Fronts for FMS
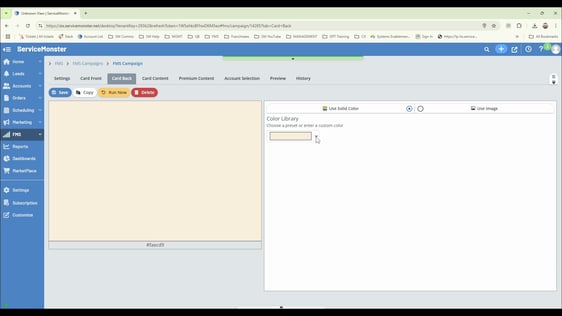
Step 7: Choose your card backing. Premade images are available, but a solid color often matches your card front better. In this example, a red backing pairs nicely with the red front. Click the Choose a Preset or enter a custom color button to see your color options OR click Use Image at the top for a picture based background instead.
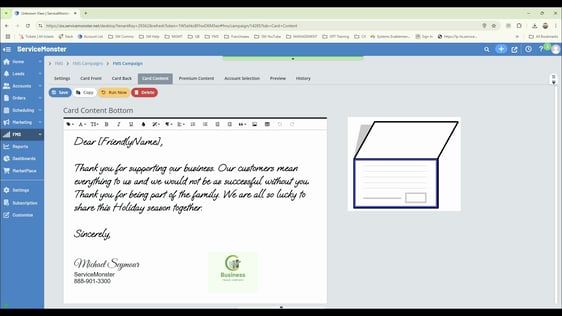
Step 8: Review the card content. The sample text is friendly and ready to use, but you can replace it with your own words.
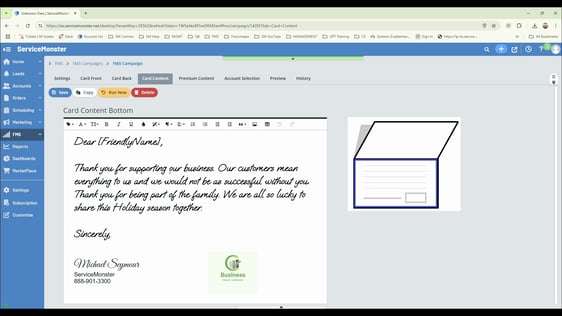
Your signature and logo are already added from the earlier setup.
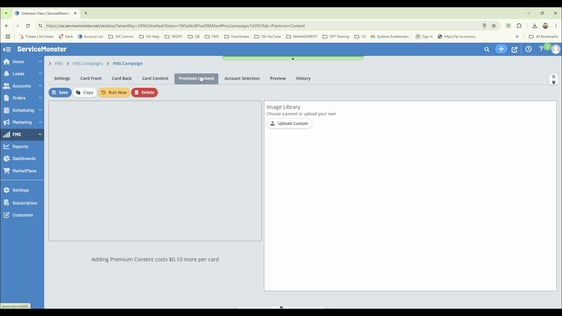
Step 9: Add premium content if you want it. This option lets you print on the top flap of the card, which the client sees when opening it. Upload a team photo or a coupon, for example. It adds just $0.10 to the card.
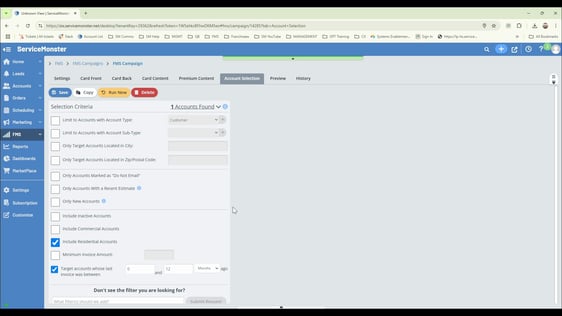
Step 10: Select Account Selection and choose your target audience. You might include business customers or only customers who spent over a certain dollar amount. Enter your criteria here.
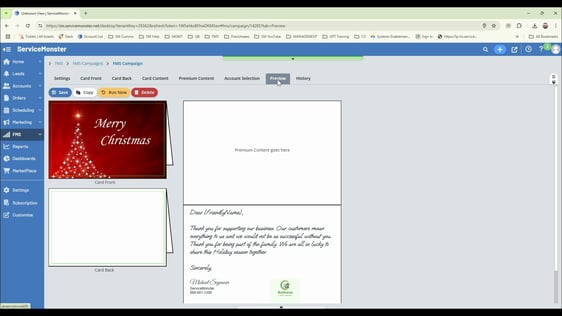
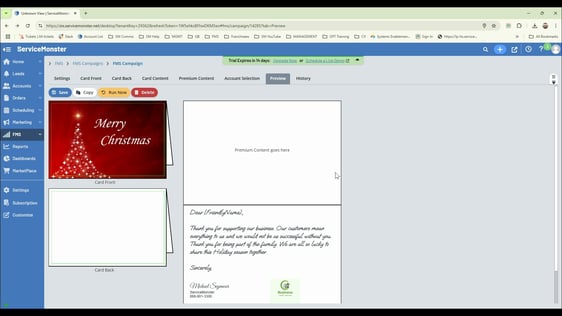
Step 11: Click Preview to see how your card looks. The card back won't fill in yet.
Step 12: Click Save.
Run and Approve Your Campaign
Step 1: Click Run now. A confirmation shows how many target customers were found.
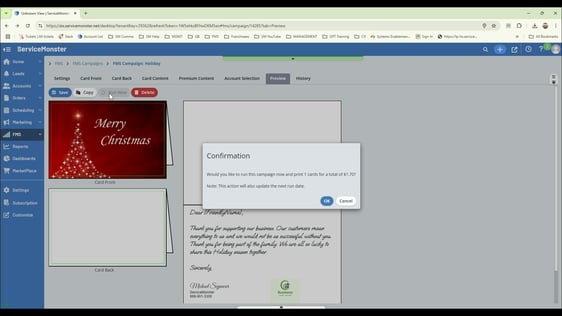
Step 2: Click OK. The Approval wizard pops up.
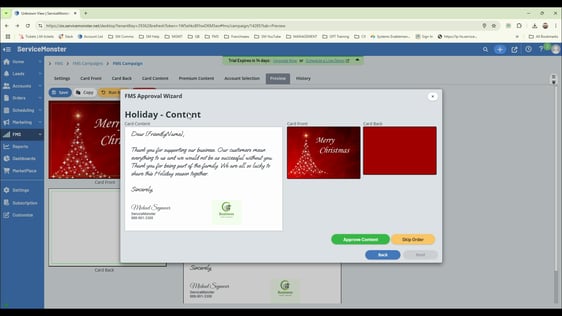
Step 3: Click Review required.
Step 4: Check that your card looks the way you want, then click Approve Content.
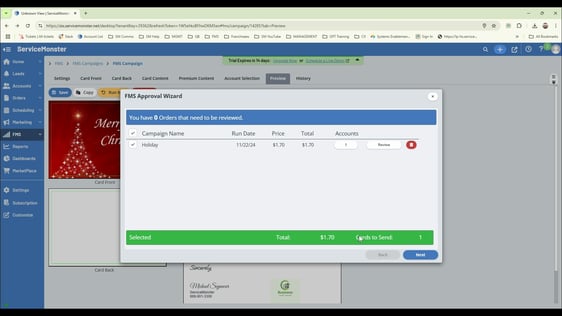
Step 5: Check the total cost on the next screen.
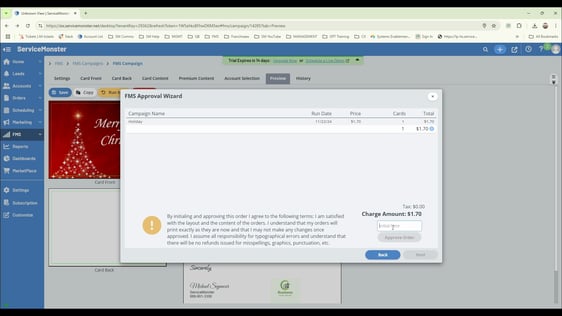
Step 6: Enter your initials and approve your order.
That's all there is it! You've just designed a holiday card, targeted your chosen customers, and approved your order, all in a few minutes! Your order will now enter our print queue and our own company team in Bellingham, Washington will get it to your customers as soon as possible!
Questions? Call the support team at 888-901-3300x2. We're always happy to help!