
The mobile Quick Add works similar to the desktop version, allowing you to get an appointment scheduled in minimal time. You can also create new Activities swifty as well. Learn how to create an Activity here.
Creating Appointments Using The Quick Add On Mobile
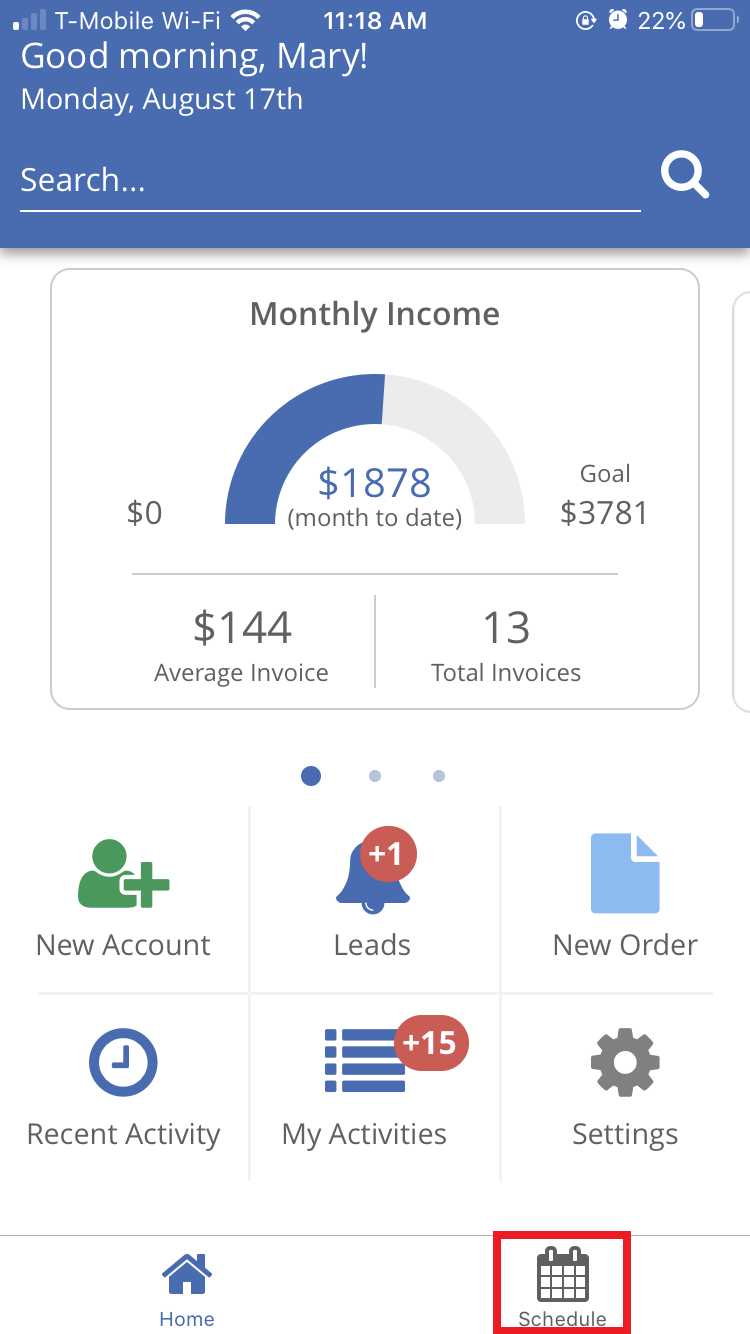
To find the Quick Add on Mobile, go to the Schedule page.
Click on the green “+” button.
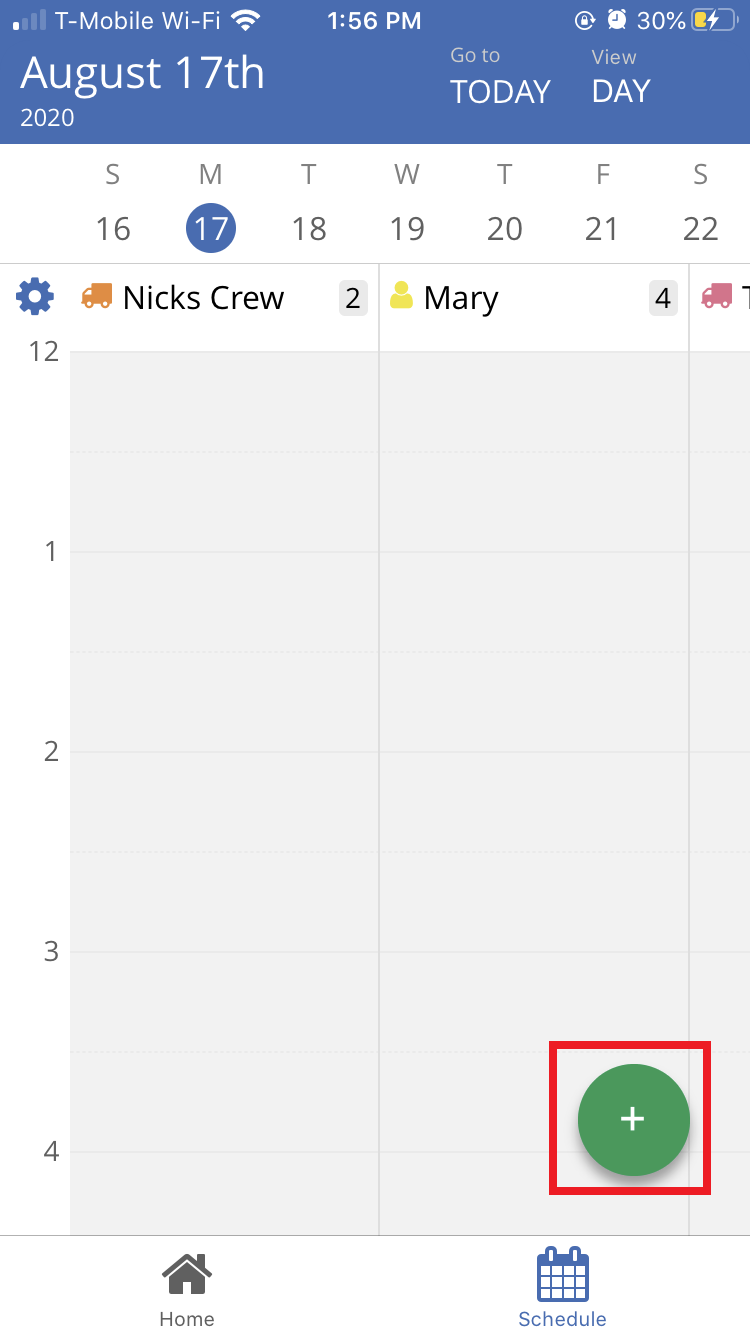
Select “New Appointment”

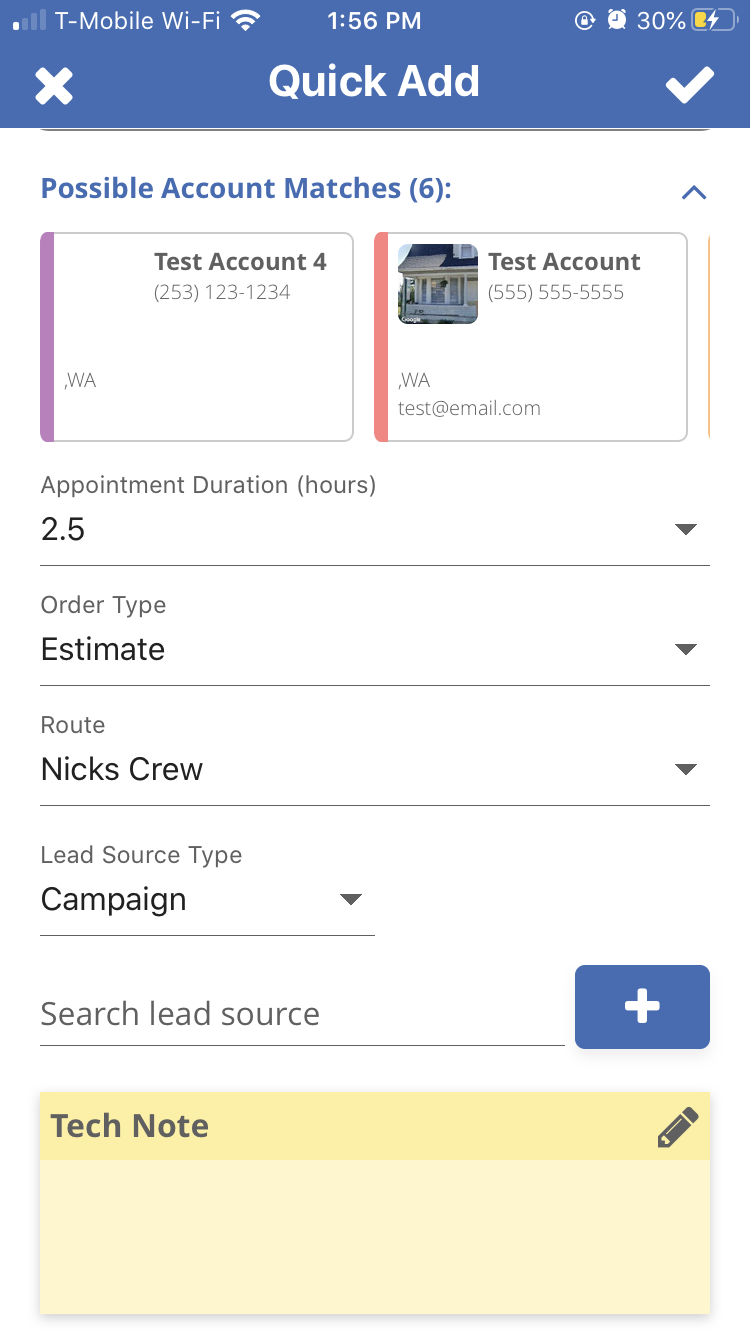
This will open a page where you can enter in the following information for the appointment. As you add in the client’s information suggestions for possible account matches will appear, select the account you want to use if it already exists, otherwise move on to editing these other details.
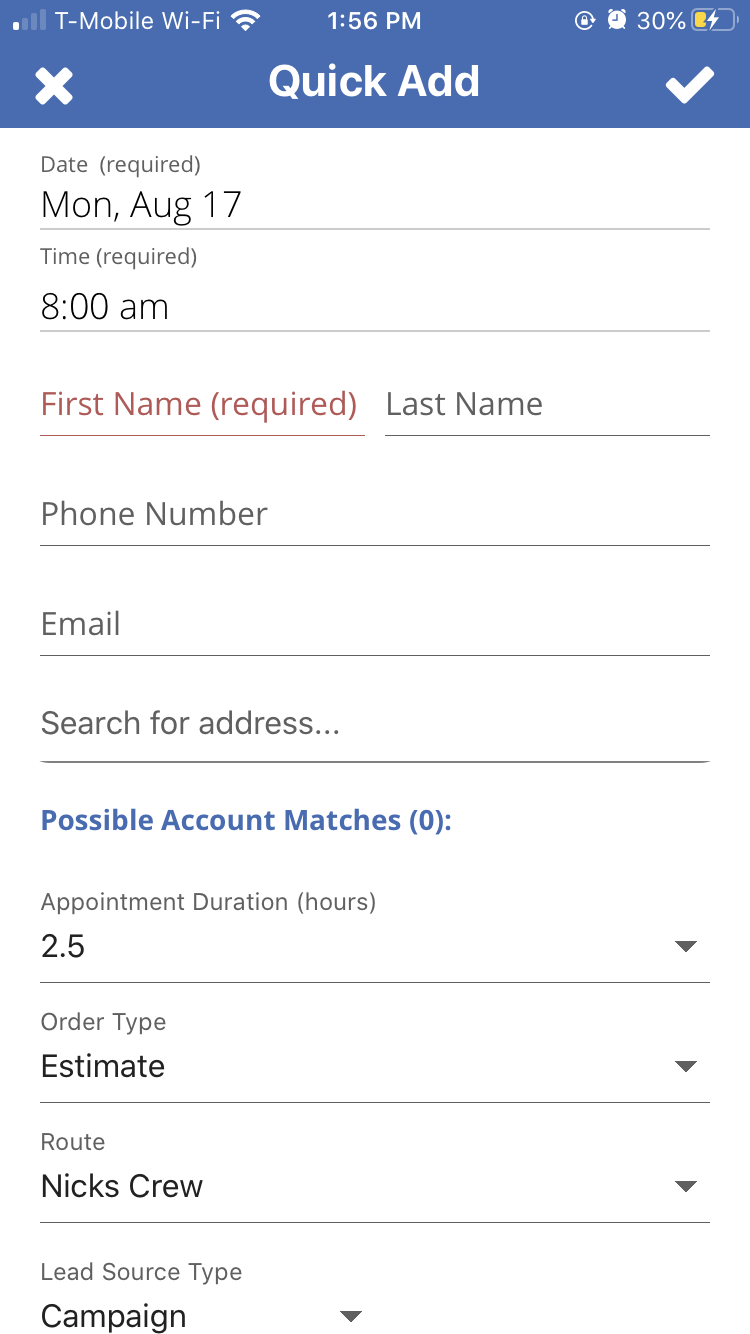
Date (Required): The date this appointment will take place on.
Time (Required): The time this appointment will take place.
First Name (Required): The first name of the client associated with this account. Any possible matched will appear below the address search.
Last Name: The last name of the client associated with this account.
Phone Number: The phone number associated with this account
Email: The email address associated with this account
Search for address: Here you can start typing in the client’s address, the system will offer suggestions as to what the address may be.
Appointment Duration (Hours): Choose how to set how long the appointment if predicted to take.
Order Type: Choose what type order type is, Estimate, Work Order, or Invoice.
Route: Pick the route you want this appointment to be scheduled on.
Lead Source Type: Pick the lead source
Search lead source: Here you can search for and find the lead source for this appointment, you can select campaign if it was through marketing efforts, or account if it was another account that recommended them.
Tech Note: Here you can add in notes about the appointment that your techs can see but the client can not. This is a great spot to add in info that the tech may need to get the job done, such as gate codes or specific information about the appointment.
Once you have entered all the appointment information in, click on the check-mark in the upper right-hand corner. The appointment will now be added onto the schedule, and if you created a new account or site those will also now be available on the app or desktop version of ServiceMonster.
Creating an Activity using Quick Add on Mobile
To find the Quick Add on Mobile, go to the Schedule page.
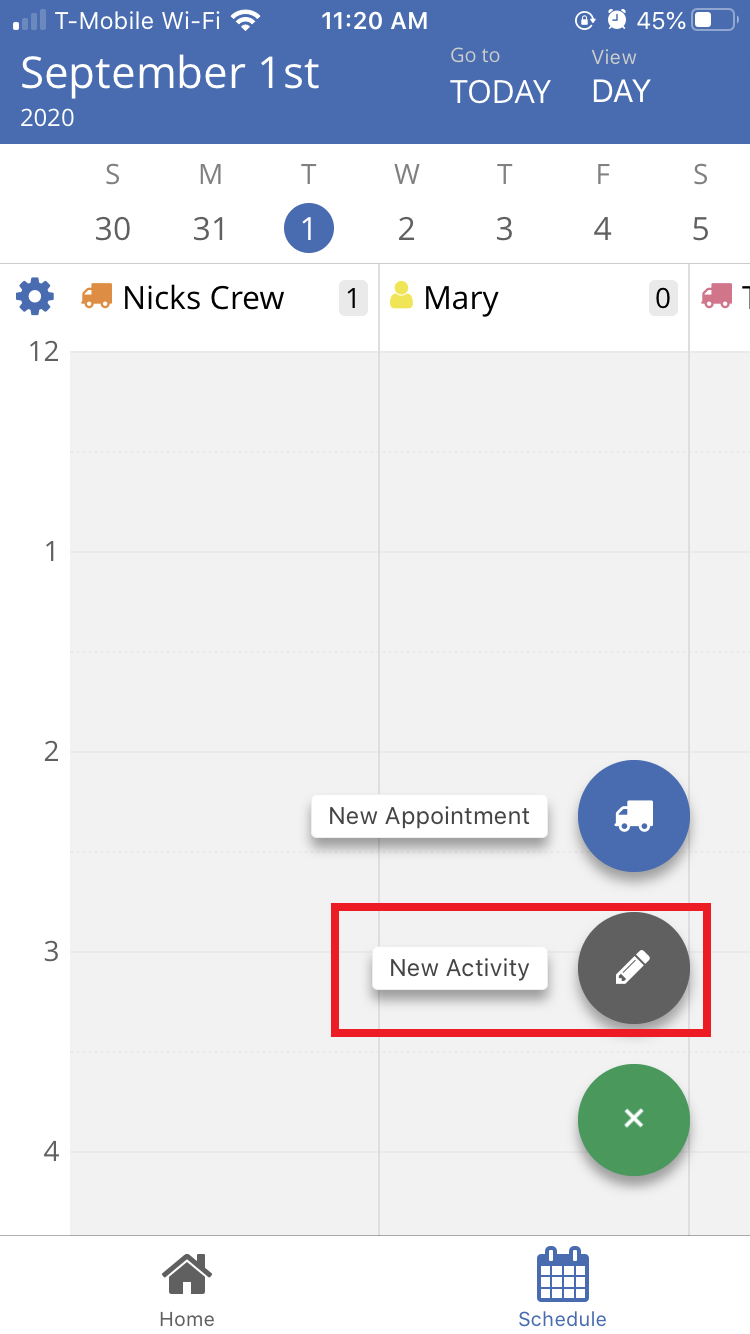
Click on the green “+” button.
Select “New Activity”
Here you can start entering the details for this activity:
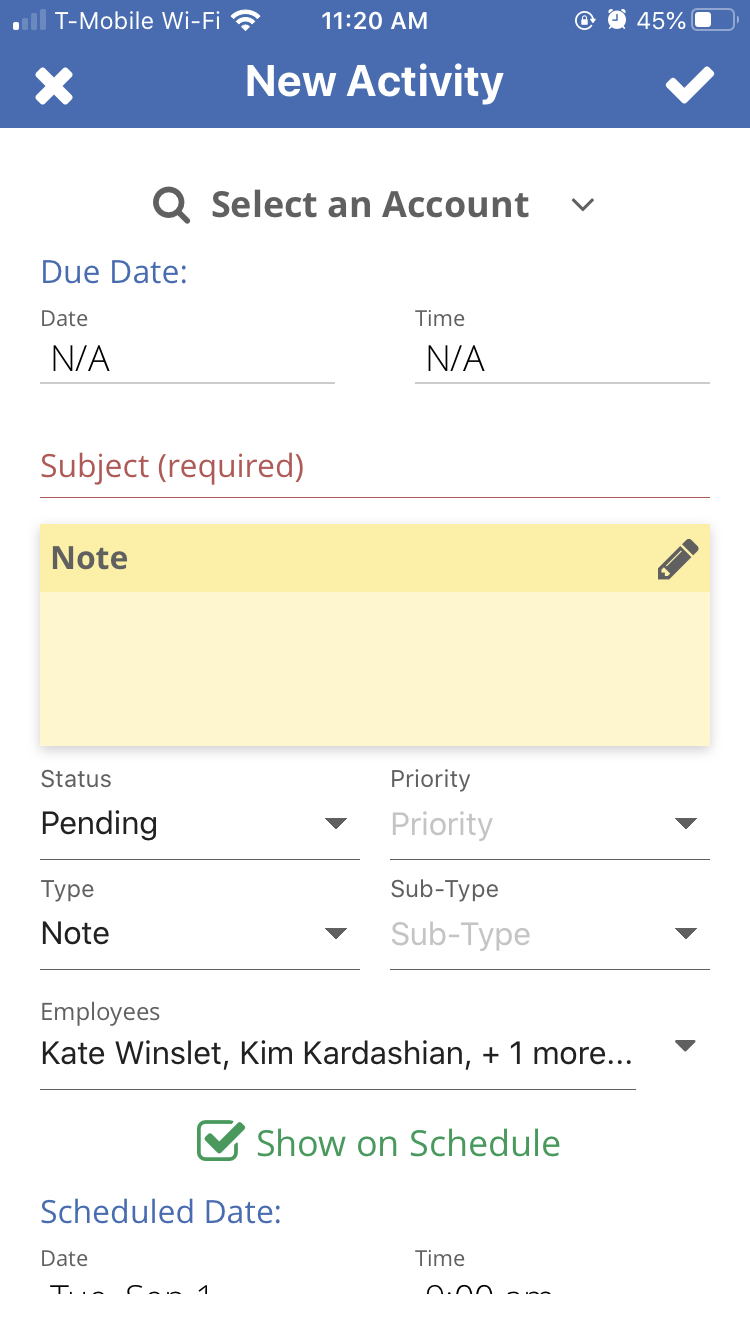
Select an Account: You can pick an account that this activity is attached to. You will be able to view this activity for that account’s page.
Due Date: Pick a date this activity should be completed by.
Time: Pick the time this activity should be completed by.
Subject: The subject line for the activity, this is what you will see on the schedule and on activity lists.
Note: The information about the activity
Status: Choose between Pending or Complete.
Priority: Choose between High or Low
Type: Choose between Note, Call, Task, or Mail.
Sub-Type: Choose between Internal or Tech
Employees: Choose the employees assigned this activity. If an employee is assigned to an activity they will be able to see it on the schedule and it will appear on their agenda view on the mobile app.
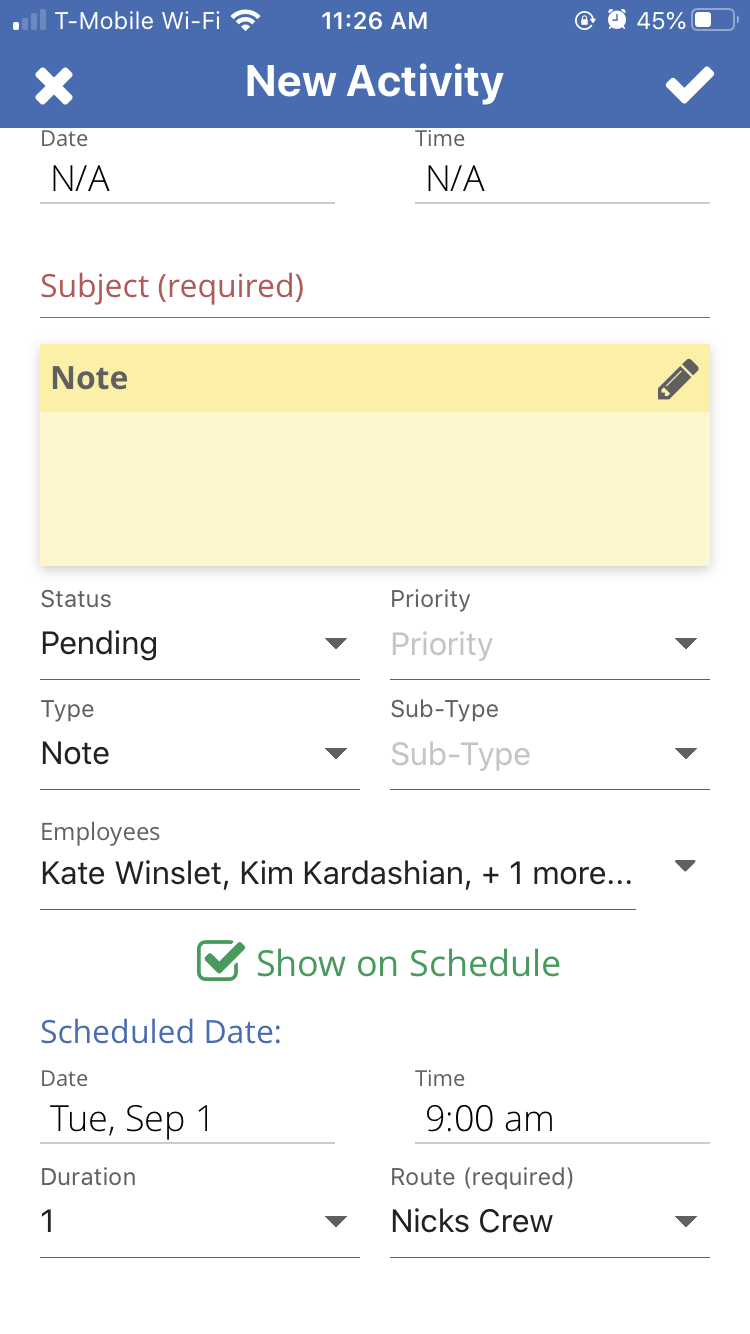
Show on Schedule: If this is selected the Activity will appear on the schedule.
Schedule Date: The day the activity will appear on the schedule.
Time: The Time the activity will appear on the schedule
Duration: How long this activity should take, or how much time this activity blocks out on the schedule.
Route: The Route this activity will appear on on the schedule.
Once you are done entering in the information you need, click on the check-mark in the upper right-hand corner of the app. This will create the activity and add it to the schedule.