How to Set Up Tax Rates
Setting up your tax rates in ServiceMonster allows you to easily apply tax rates to Accounts, Orders, and Line Items. This helps ensure you are collecting the correct amount to account for local or state taxes.
Click on a link to hop to a specific section on this page:
Setting Up a Default Tax Rate based on Location
How to Manually Apply A Tax Rate
Marking Line Items, Products, and Services as Taxed
How Do I Set Up Tax Rates?
Click on "Settings" in the Main Menu, then select "Tax Rates".

From this page you will be able to view any active tax rates or create a new one by clicking on the "+ Tax Rate" button.

This opens up the "Sales Tax" window where you can begin to create a new tax rate.
Details Tab
Here you can enter in the details of this tax rate, including the following:

Name: The name for this Tax Rate, this is what you will see in your drop-down menus when applying this tax to orders and accounts. Be sure it’s the same name you have in whatever accounting system you use.
Rate: The tax rate percentage.
Tax Agency: The name of the Tax Agency responsible for collecting this tax.
Zip: The zipcode this tax applies to. Use if desired (optional).
City: The city this tax applies to. Use if desired (optional).
County: The county this tax applies to. Use if desired (optional).
State: The state this tax applies to. Use if desired (Optional).
Active: Is this is an active tax rate you use, leave this box checked. If this tax rate becomes obsolete, then uncheck this box to remove it as an option in your drop-down menus.
Description: Add a description of the tax.
Tax Components: Tax components are a percentage rate applied to an item when you use a tax rate. When a component tax rate is applied, each component [City / State] is calculated separately. The tax rate is rounded to two decimal places and then added together. You can think of these as the “smaller” tax rates that make up the total tax rate (2% [your city tax] + 6% [your state tax] = 8% TOTAL TAX RATE) Ask, “Do you pay taxes to several different places?” If so, use components.
Advanced Tab
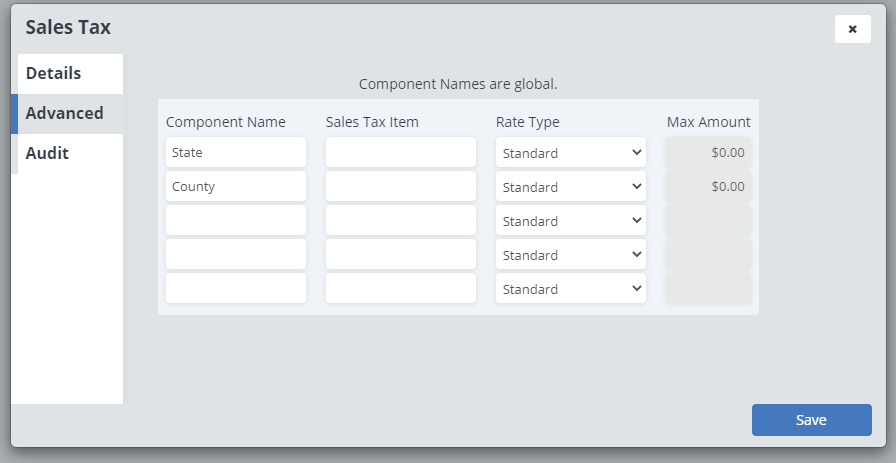
Here you have more advanced options for your tax rate. This is in relation to QuickBooks Sales Tax Groups, where customers will only see one tax line item, but QuickBooks will recognize multiple taxes are being collected and will record them separately.
Hear what Quickbooks has to say on this..
Component Name: The name of the tax component.
Sales Tax Item: QuickBooks uses sales tax items to calculate the sales tax on transactions and associate the tax with the correct sales tax agency.
Rate Type: Here you can choose between Standard, Compounded, Order Maximum, or Total Maximum.
Max Amount: If you use the Order Maximum or Total Maximum option in Rate Type, you can set the Max Amount here.
Audit Tab
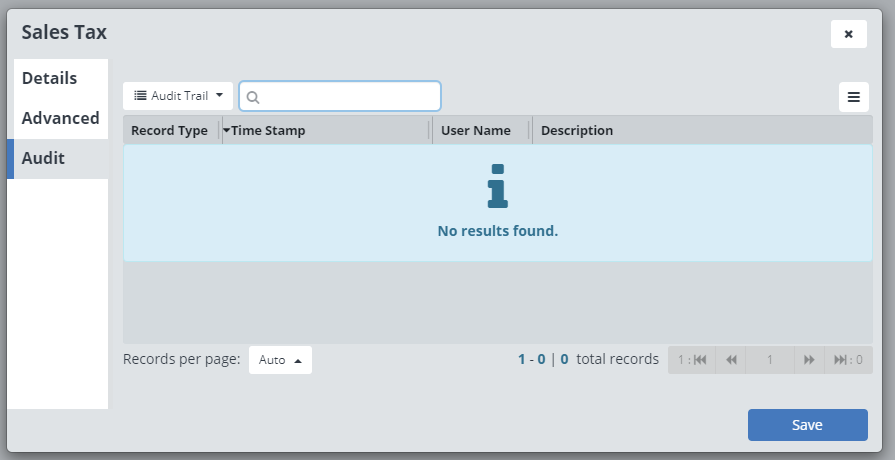
Here you will be able to see when this tax rate has been used.
Setting Up A Default Tax Rate Based On Location
Default tax rates can be applied to any new accounts created. To set default tax rates:
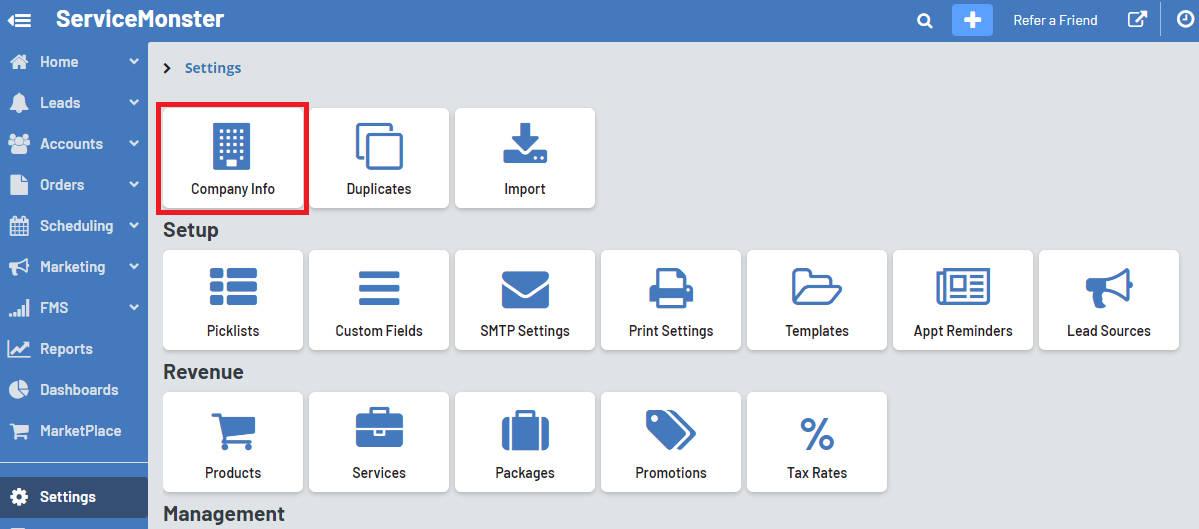
Go into "Settings" and select "Company Info".
From here, look to the middle section and the lines "Default Tax" and "Default Tax Location".
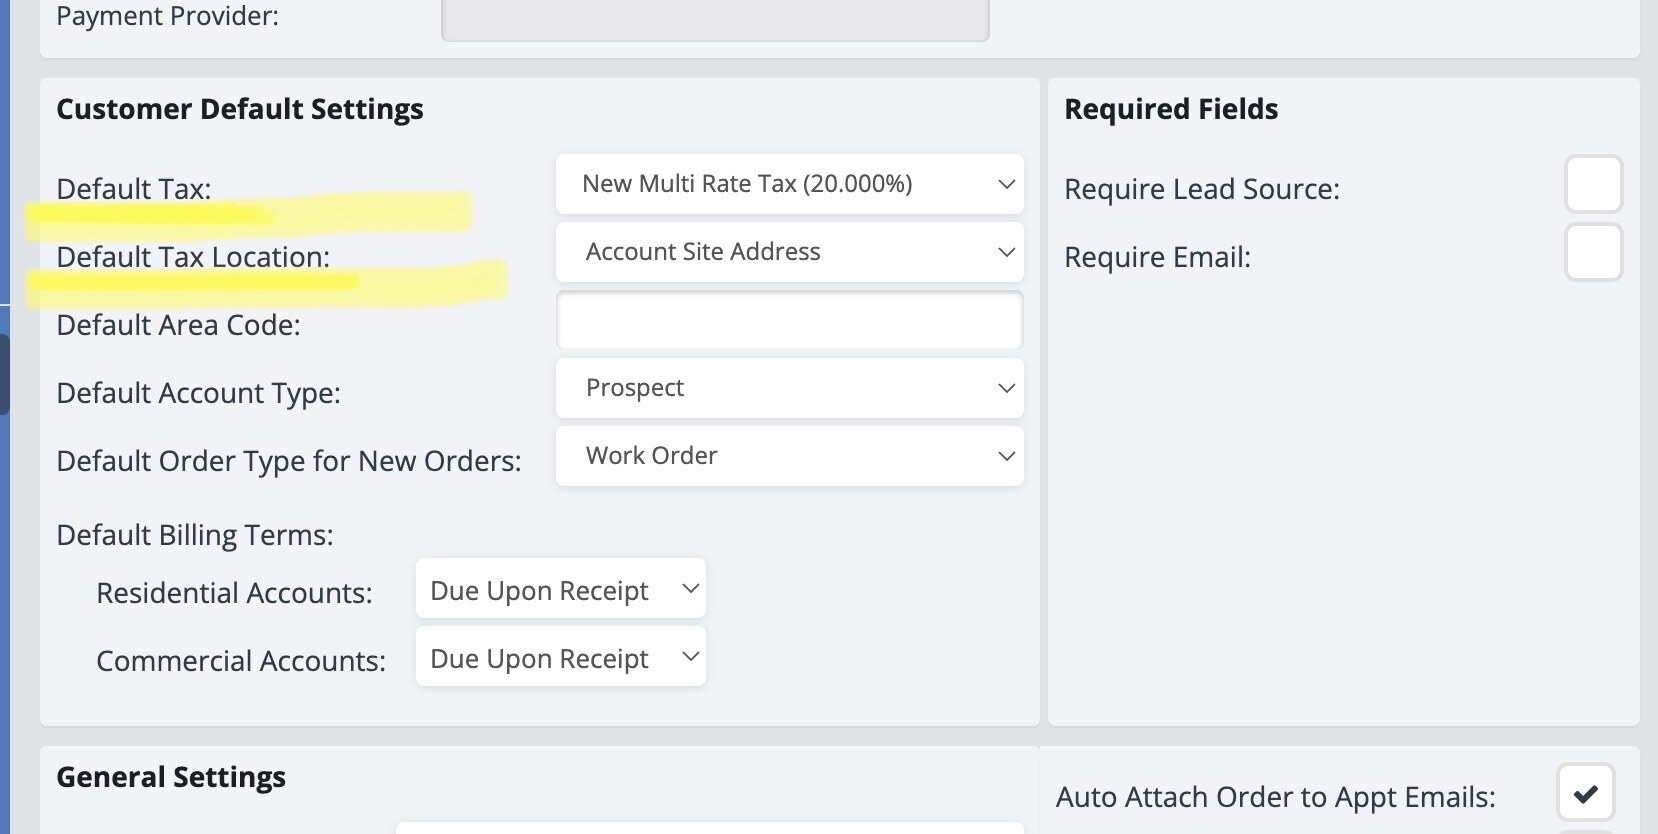
Default Tax: Choose the tax rate from the drop-down menu.
Default Tax Location: This can be calculated based on one of three options: Shop Address or Where the company is located, Account Billing Address which is the Customer’s address, or Account Site Address which is the Customer’s site address.
This tax rate would then be applied to any new accounts created. Each Site Address can have a separate default tax setting, which you can learn more about below.
How To Manually Apply A Tax Rate
You can apply tax rates to accounts, sites, and orders.
Accounts
When looking at the page for an account, you can preset a tax rate that will be applied to taxable line items by using the "Tax Rate" drop-down menu.
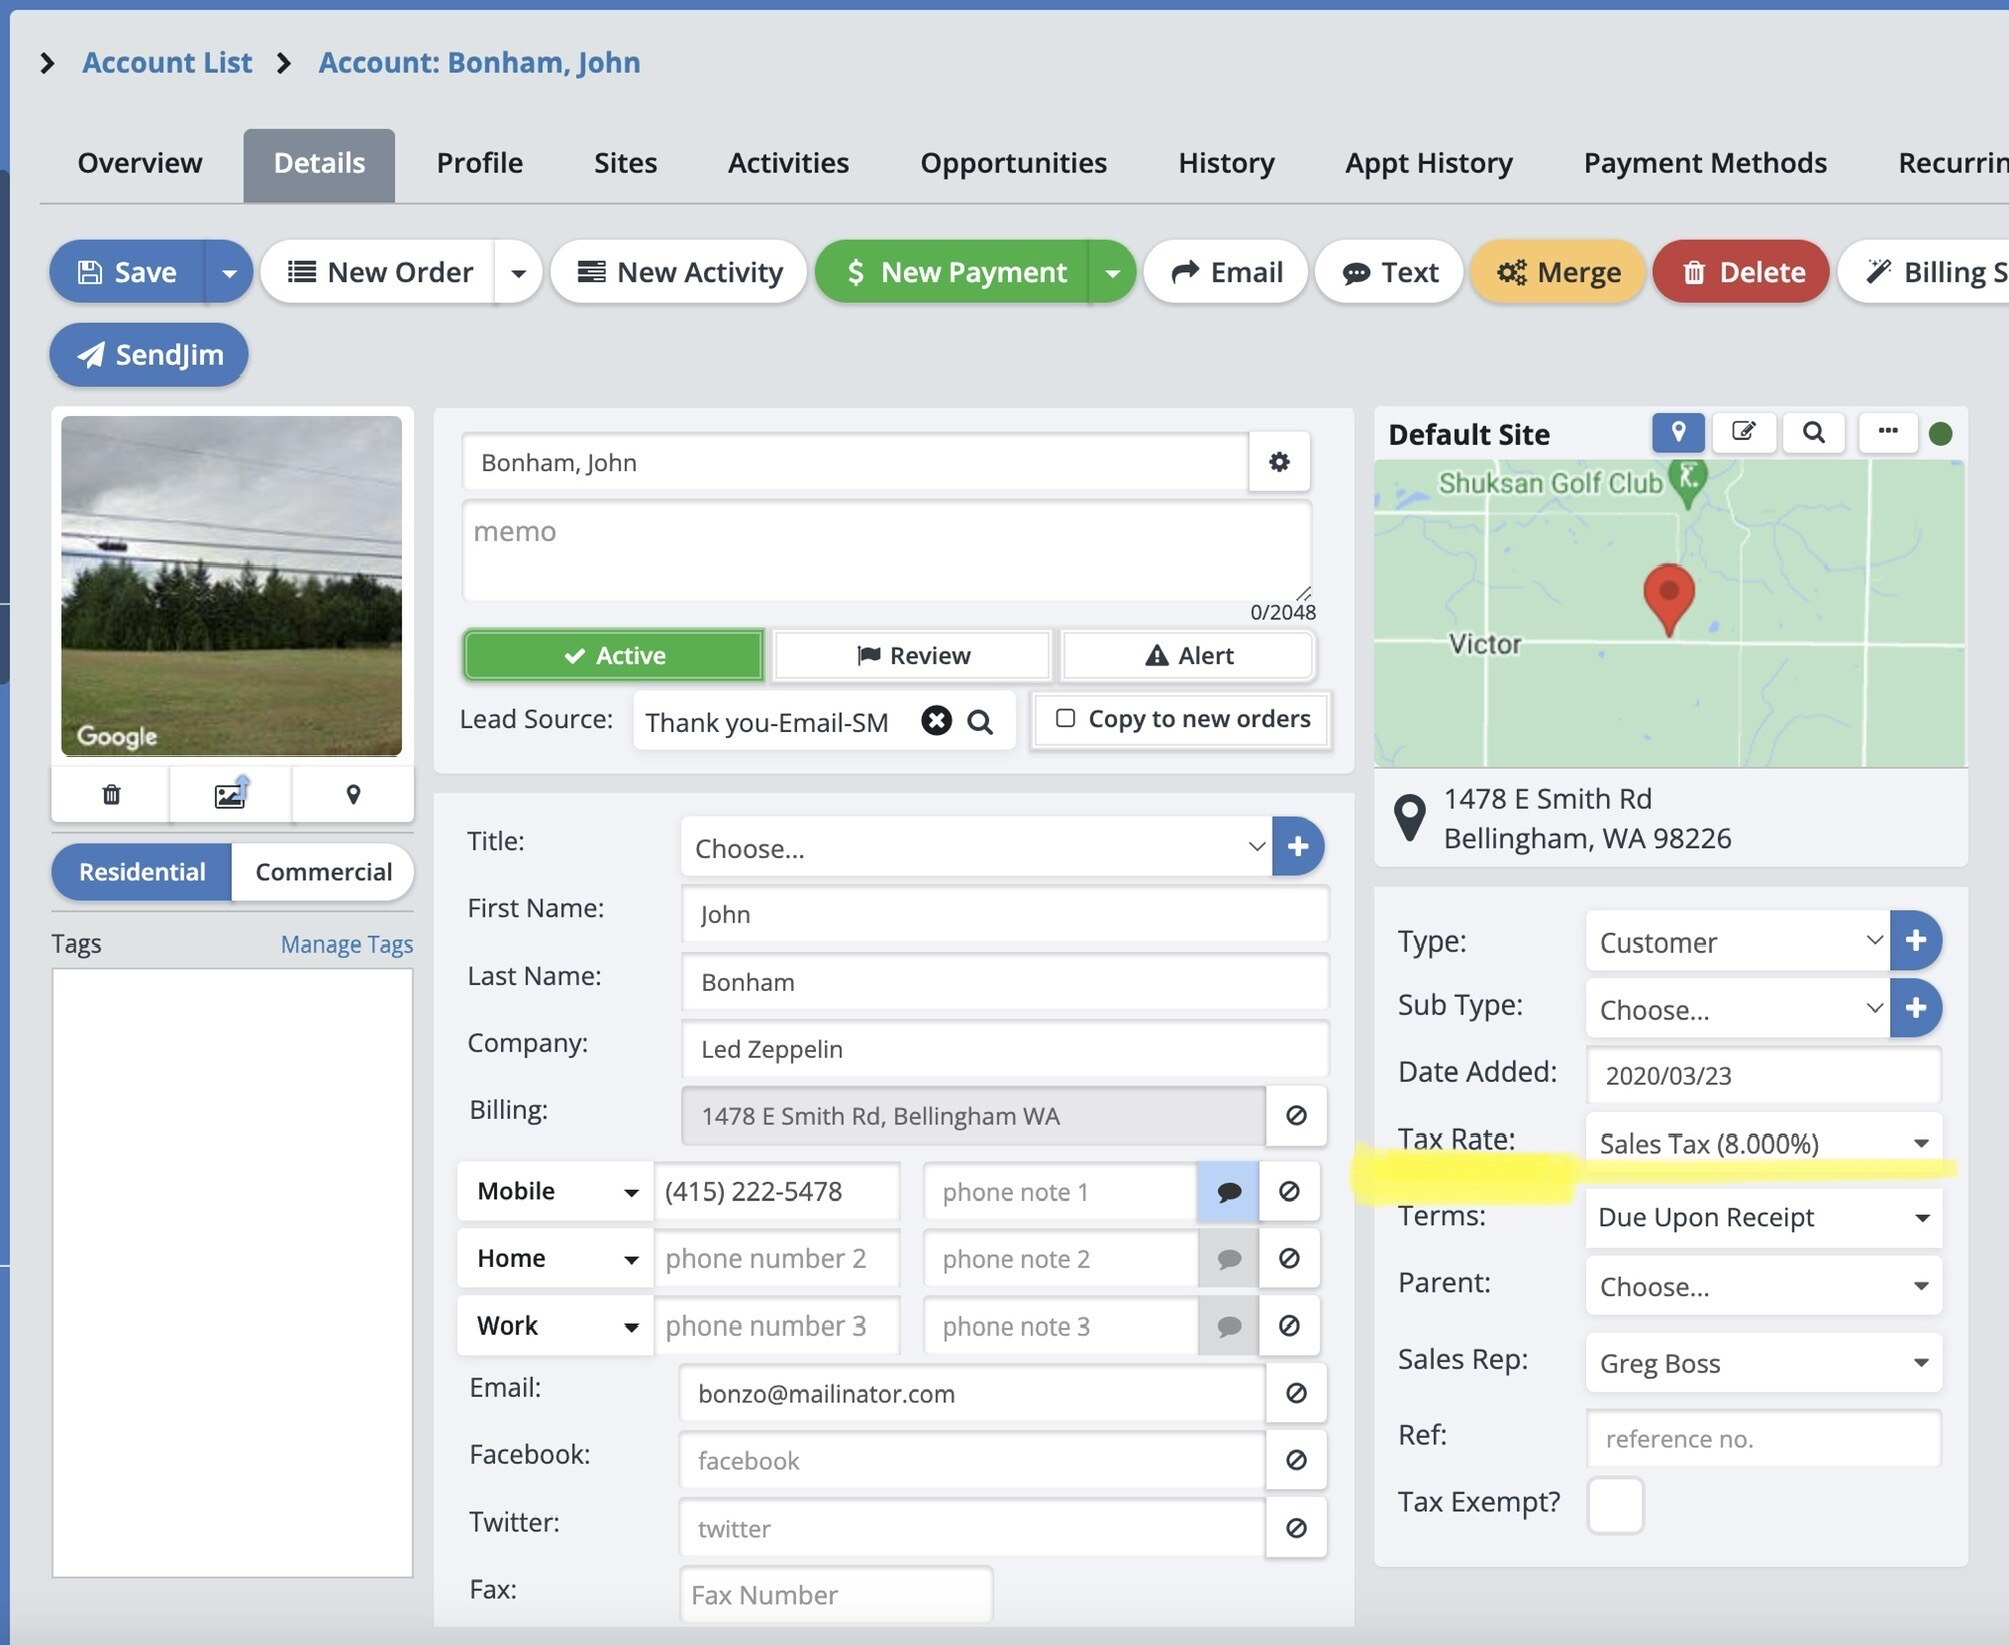
Click "Save" in the upper left when you are done.
Sites
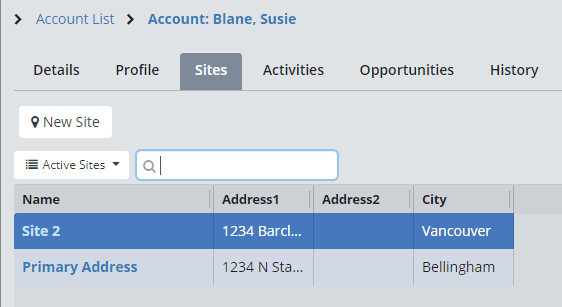
From the Account page, select "Sites".

Click on the name of the site you need to edit the tax rate of.
In the "Taxes" box, choose a tax rate, or make it as exempt.
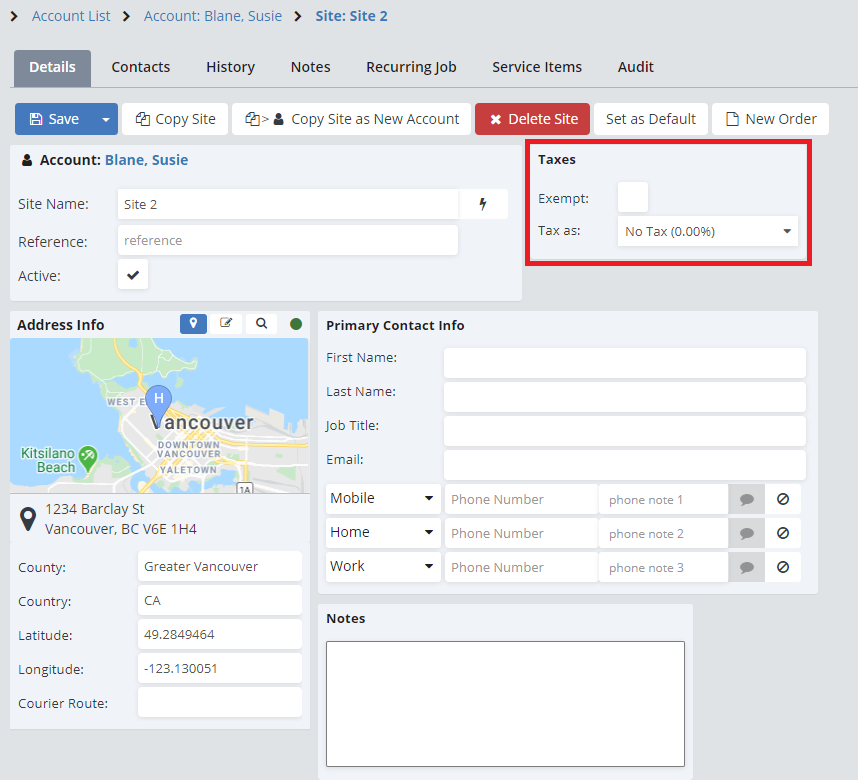
Click "Save" in the upper left when you are done.
Order
When looking at an Estimate or Work Order, you can choose a Tax Rate to be applied to taxable line items by using the Tax Rate drop-down menu.
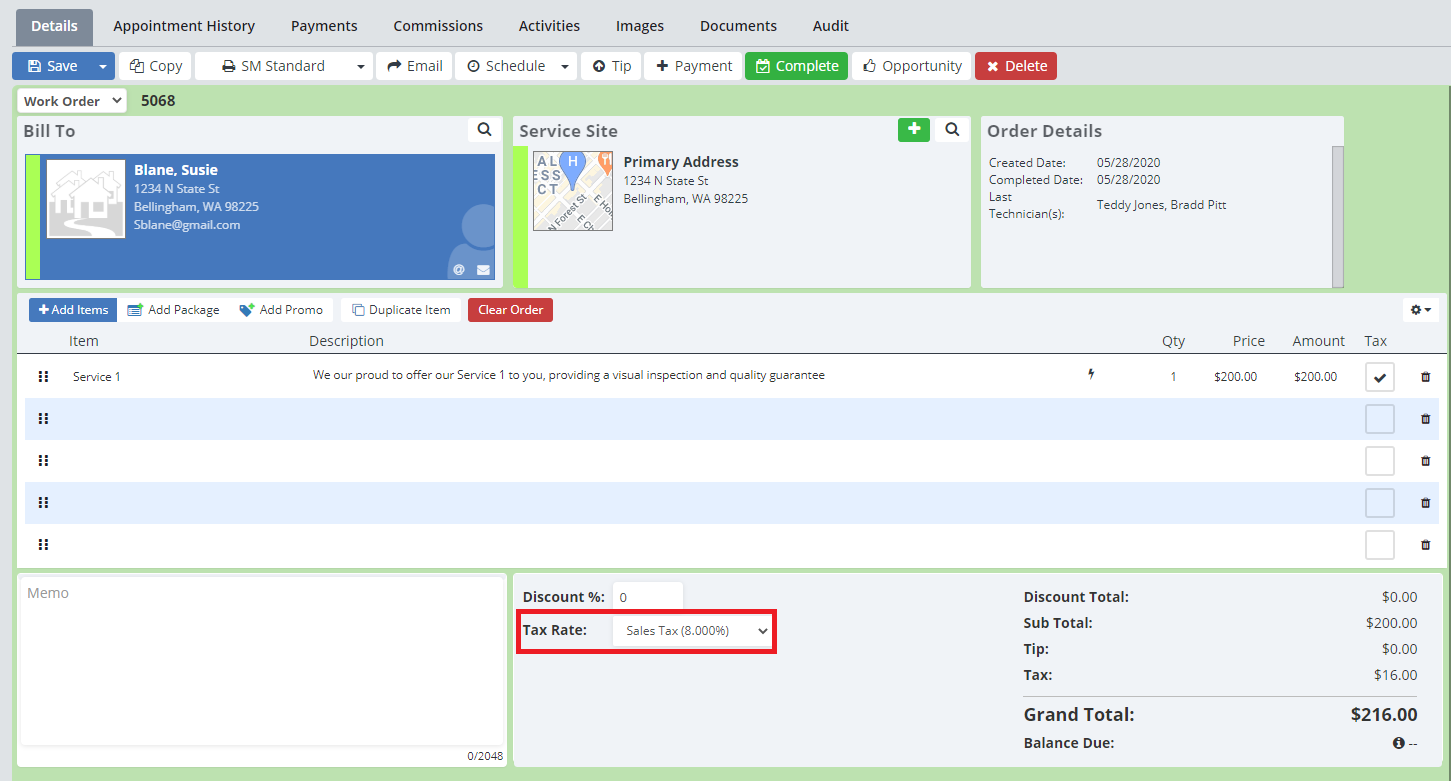
Click "Save" in the upper left when you are done.
Marking Line Items, Products, And Services As Taxed
You can choose which Line Items will have the tax applied to them from the Order Form by clicking the box in the "Tax" column on the right.

Click "Save" when you are done.
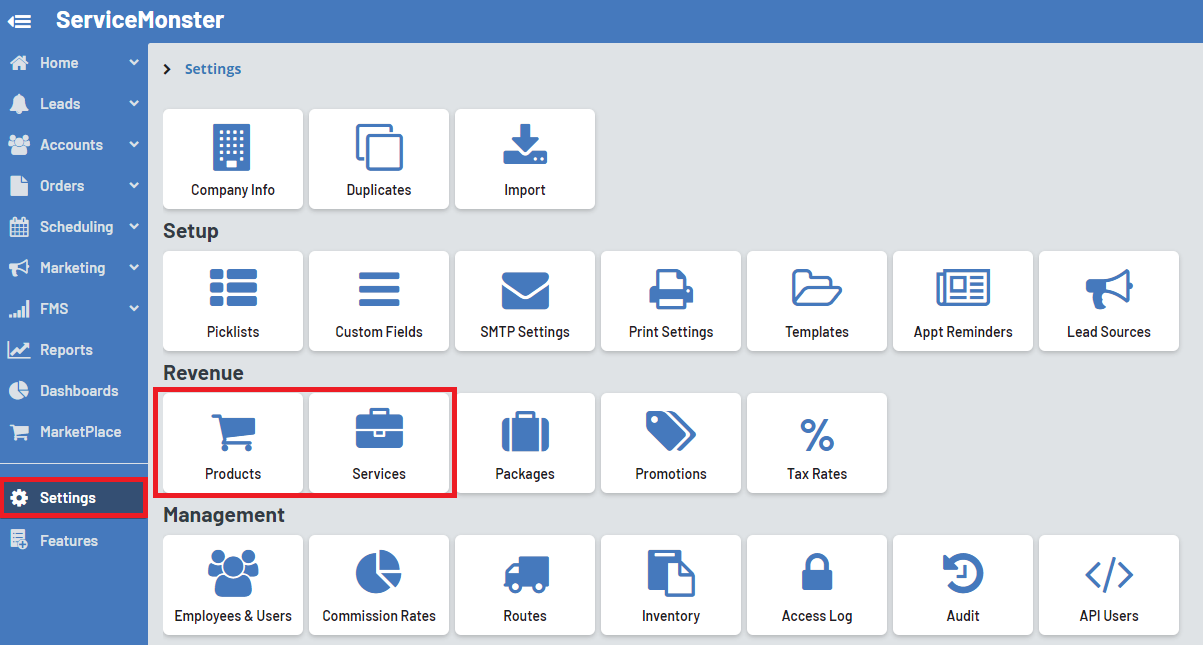
To preset a Product or Service as being taxable, go into "Settings" from the Main Menu and choose either "Products" or "Services".
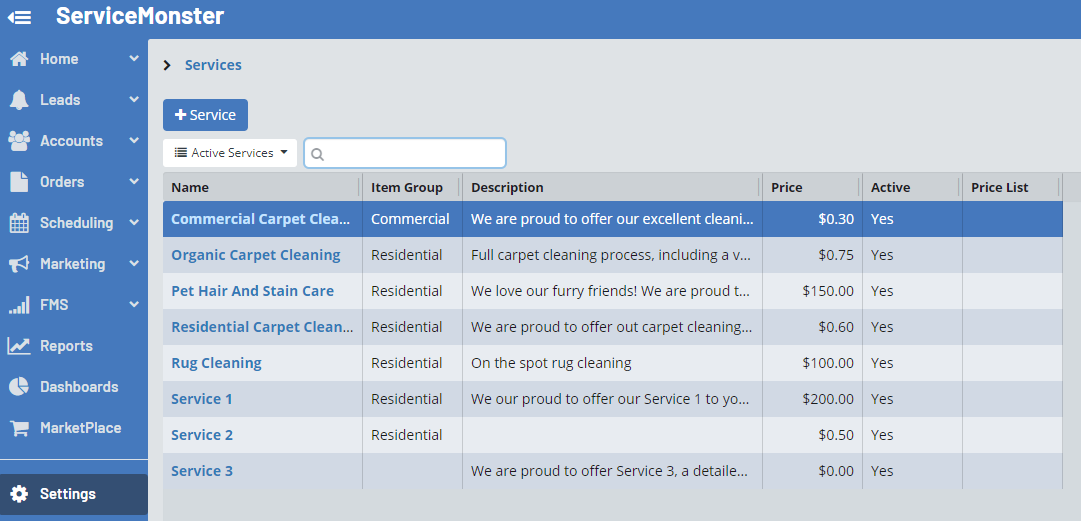
From that page, click on the name of the Product or Service you need to add the tax to.
Then check the "Taxed" box if that item should be taxed.
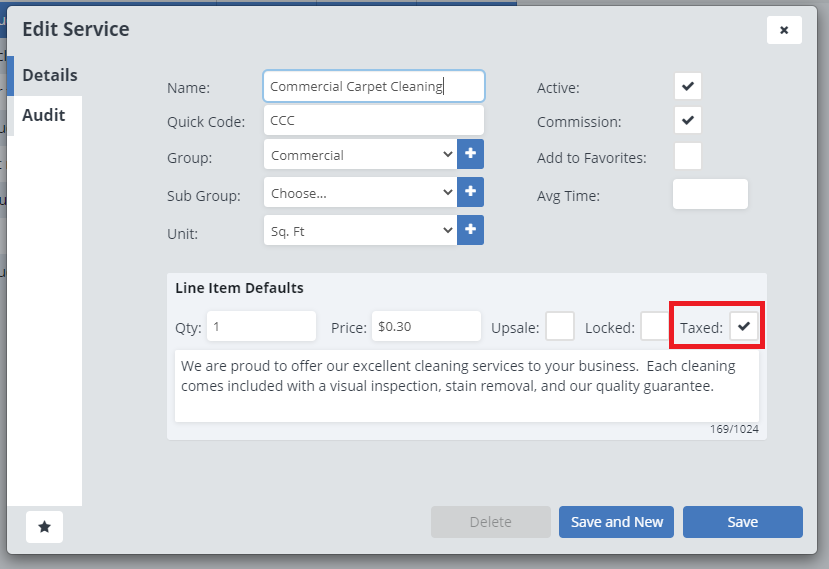
Click "Save" when you are done.
