
Click here to learn more about the Order Details Page.
Where You Can Find The Completion Wizard
There are two paths to the Completion Wizard from Desktop version via the Order Page, from the Schedule, and it's also available in the Mobile App.
Click to just directly to an individual step in the Completion Wizard process:
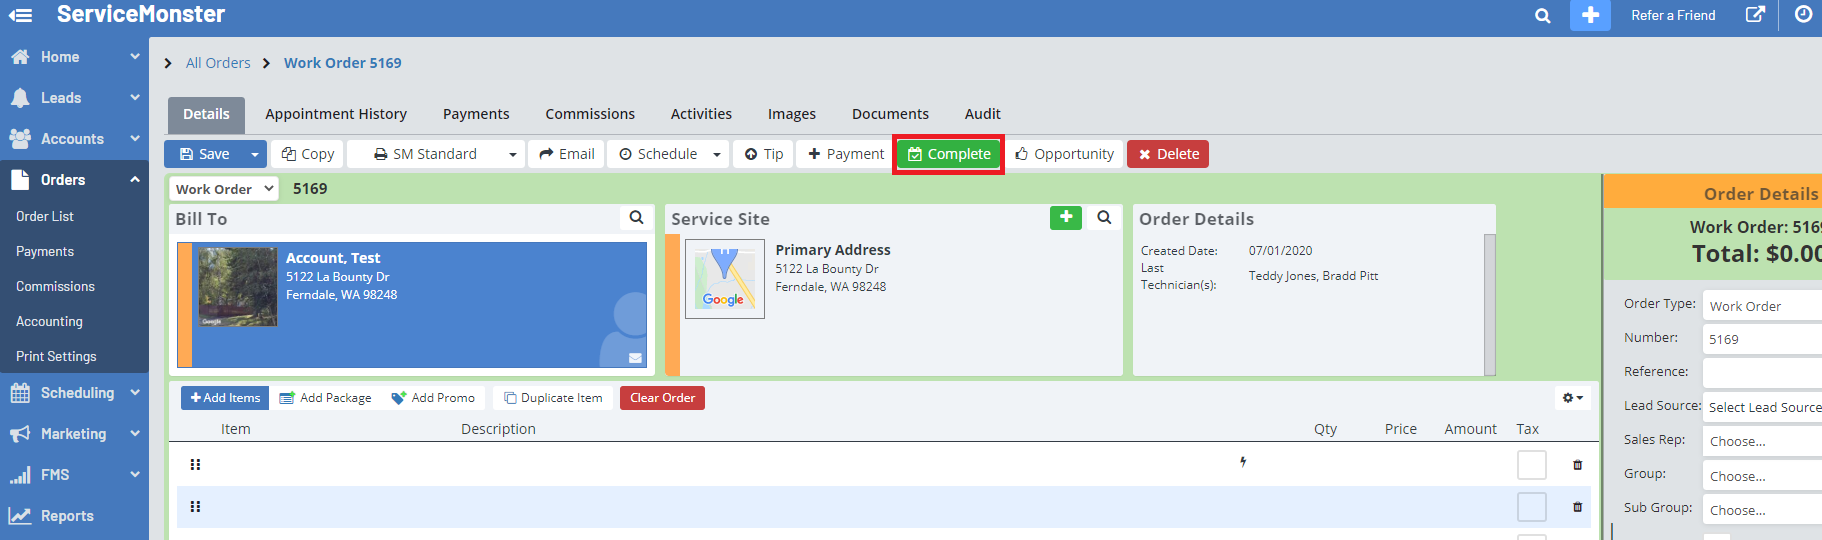
On The Order Page
When looking at the order page, click on the "Complete" button to open the Completion Wizard.
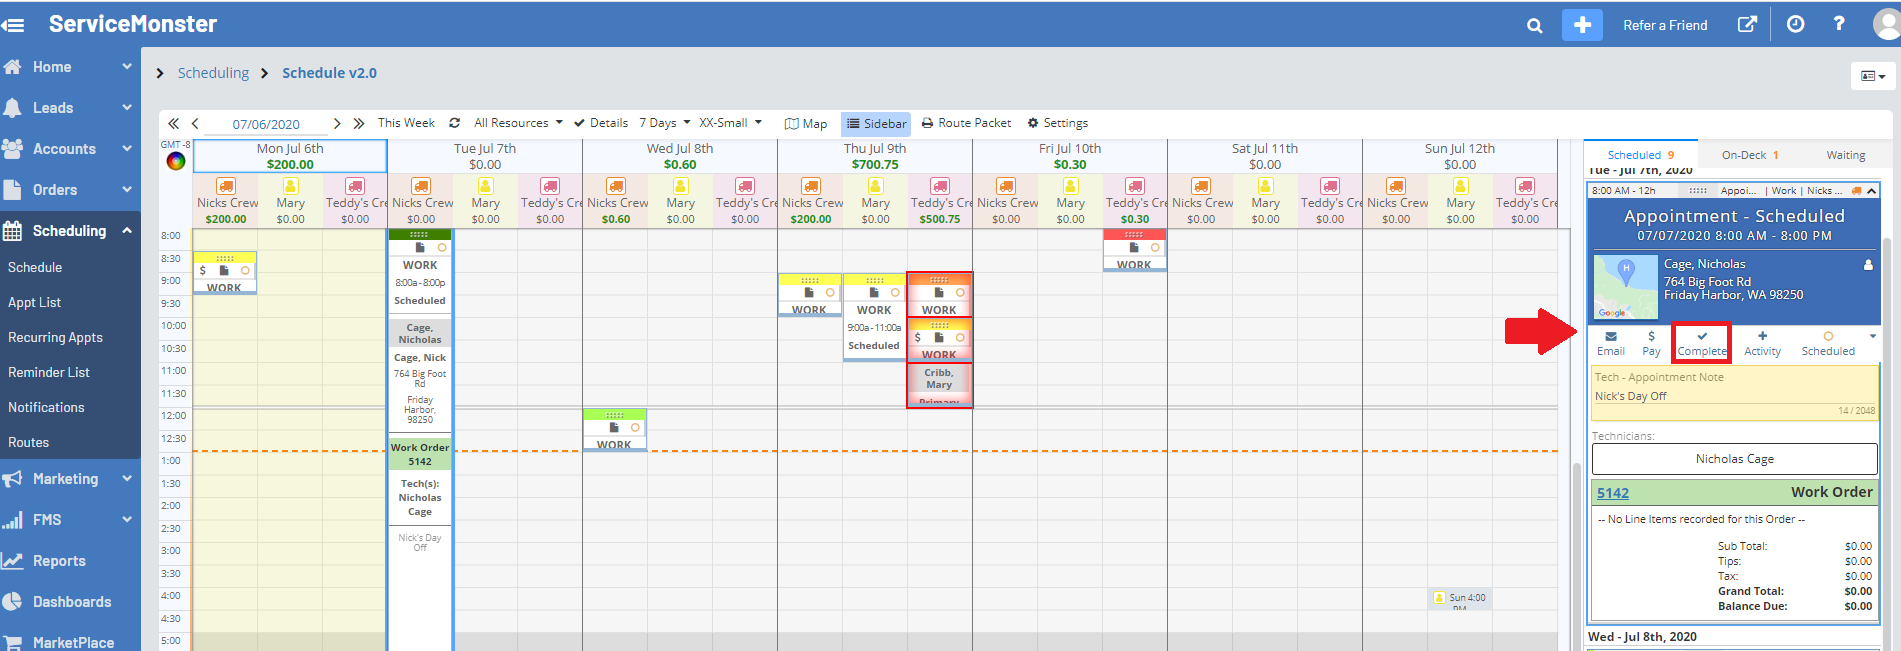
On The Schedule
Click on an appointment in the Schedule. In the Sidebar you will see the appointment details, including the "Complete" Button.
Click on the "Complete" button to open the Completion Wizard.
Edit Order
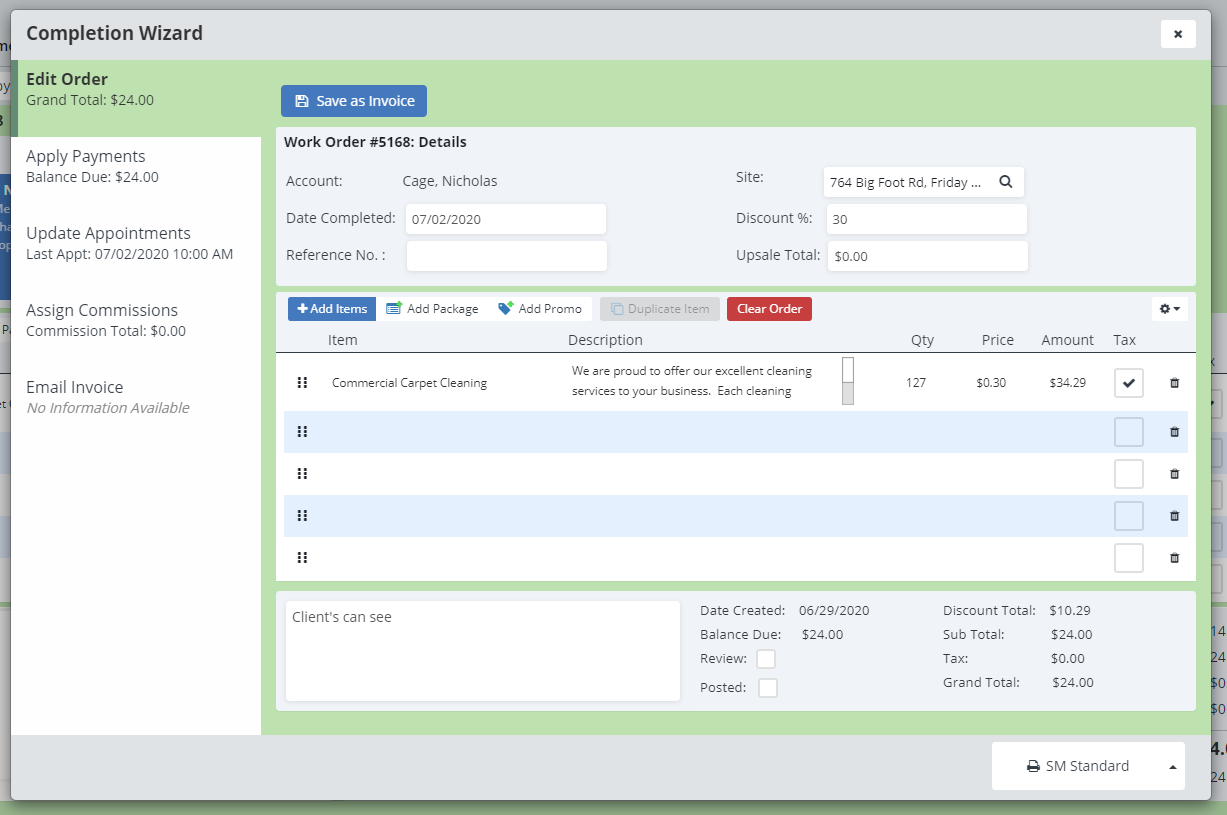
The first step is making any final edits to the order. Pay particularly close attention to the completion date, total, tax amounts, and discounts. If everything on the order looks good, click the “Save as Invoice” button to turn the order into an Invoice.
Click on the “Apply Payments” tab to move onto the next step
Note: Invoices can not be edited outside of this completion wizard. If you want to make edits to the order, you will need to either return to this completion wizard or turn it back into a work order, make your edits, then turn it back again into an Invoice.
Apply Payments
Here you can record the payments you have received.
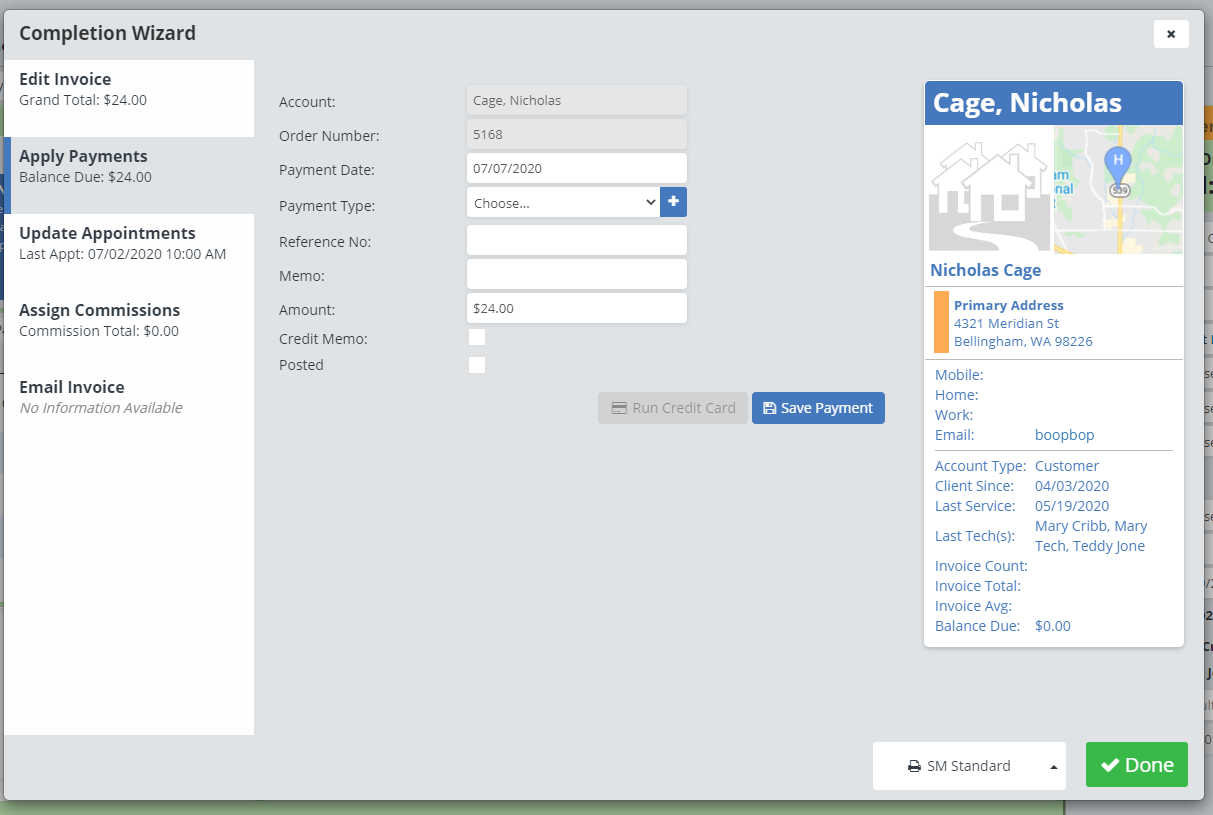
Payment Date: The date you received the payment on.
Payment Type: Choose what type of payment you received. You can also add in your own options by clicking on the blue “+”.
Reference No: Here you can give this payment a reference number.
Memo: Add in a memo for this payment.
Amount: The amount paid. This will automatically be set to the total due for the order.
Credit Memo: This can be used if you have an owed value to the customer, ie from a refund, or a gift card or something where it's not money exchanging hands
Posted: If you use QuickBooks and do not want this payment to be brought over to the QuickBooks system, check this box to mark it as Posted.
Run Credit Card: If you are connected with Stripe or Authorize.net you can run payments right through the desktop version of ServiceMonster by clicking here.
Save Payment: Click here to save the payment, this will update the balance due for the order.
Update Appointments
Here you can update the appointment information, adjusting the start and end time, as well as view and edit time logs for employees. If your employees have signed in and out of an appointment using the mobile app then the actual start time and end times for the appointment will automatically change to the earliest time a tech clocked in, and the latest time a tech clocked out.
If your techs have clocked in and out then you will not be able to change the "Actual Start" or "Actual End" times for the appointment. You can change the check in and out times for the time logs however, which will change the actual times.
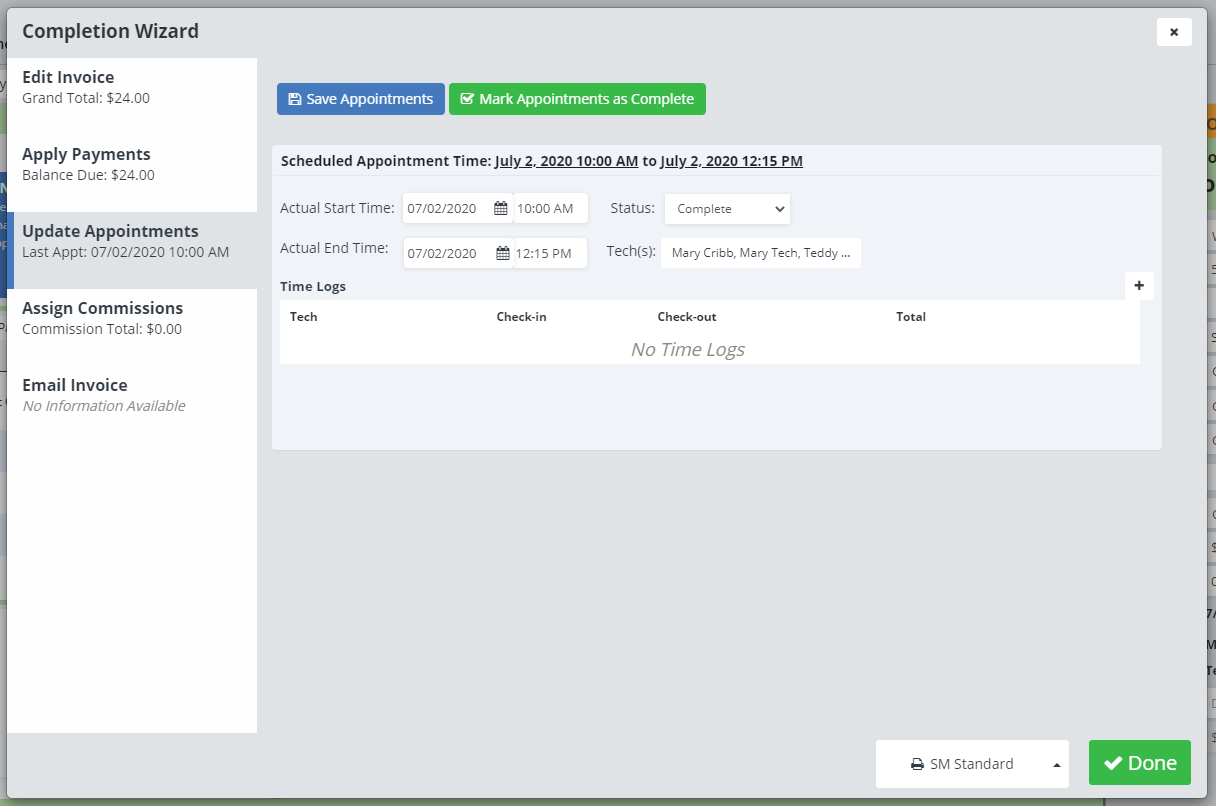
If you have made the adjustments you want, then click “Save Appointment”, and move onto the “Assign Commissions” tab.
Assign Commissions
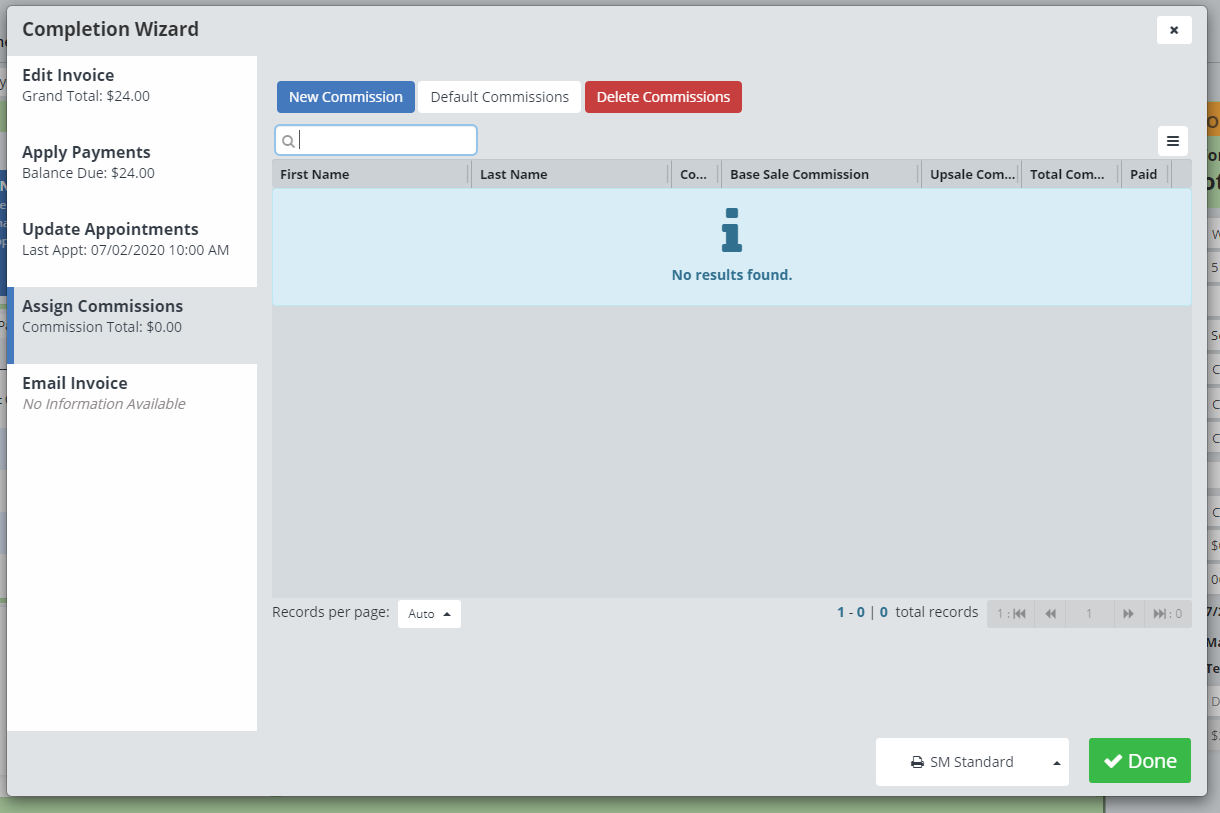
Here you can view what commissions are currently assigned, or assign commissions to employees. You can tell ServiceMonster to automatically calculate commissions in Settings -> Company Info. If you have so, they will show up here with their correct amounts. You can also delete the automatic commissions using the red Delete Commission button, and create a one-time commission using the blue New Commission button. To learn how to create a commission rate click here.
Email Invoice
Here you can create an email to the sent to your client. A copy of the Invoice will be automatically attached as a PDF as shown below the Subject: line.
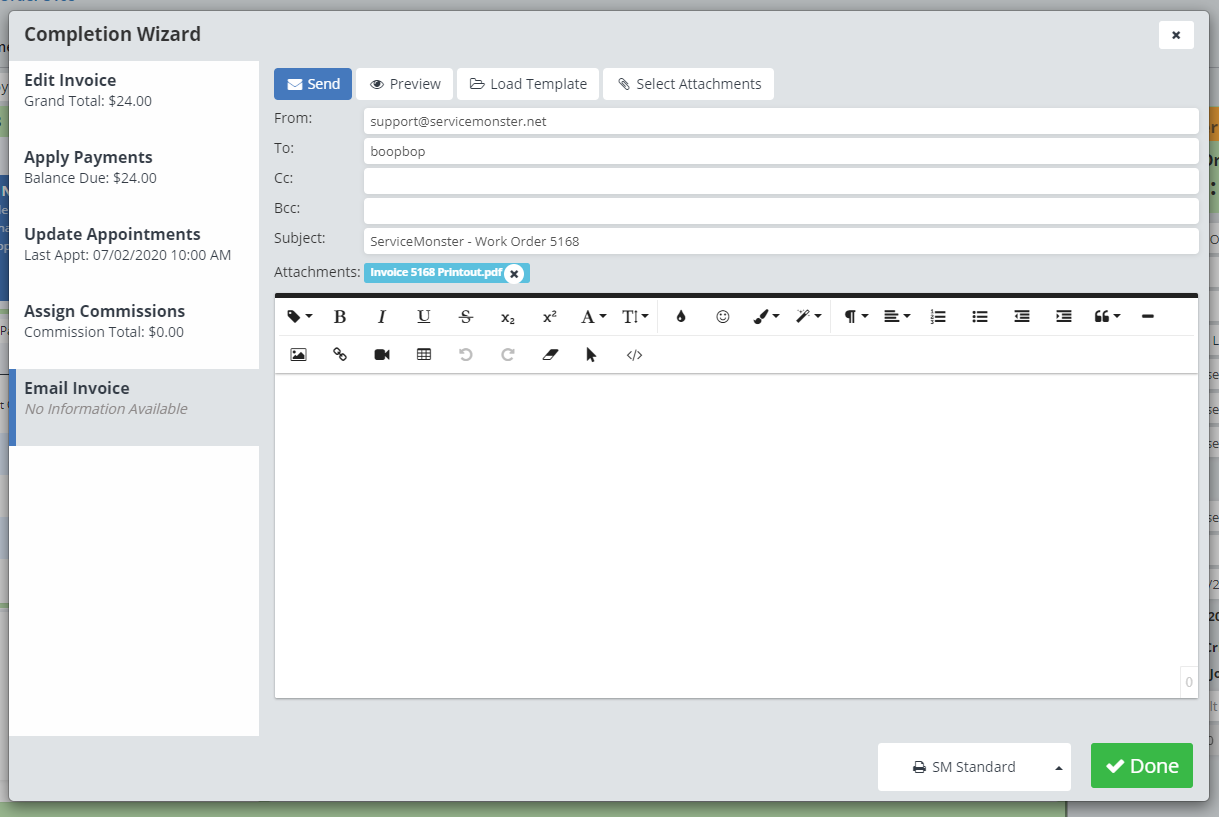
You use a template for the email by clicking on the “Load Template” button. Clicking on the “Select Attachments” allows you to attach other documents or photos to the email.
Click the “Send” button to send the email.
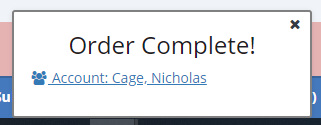
Order Complete
Once you finish every step you want to use, click “Done” and you will receive a notification at the bottom of the screen saying your order is complete!
Mobile App
You can access the Completion Wizard on the mobile app by clicking on an appointment on the schedule or from the home page.
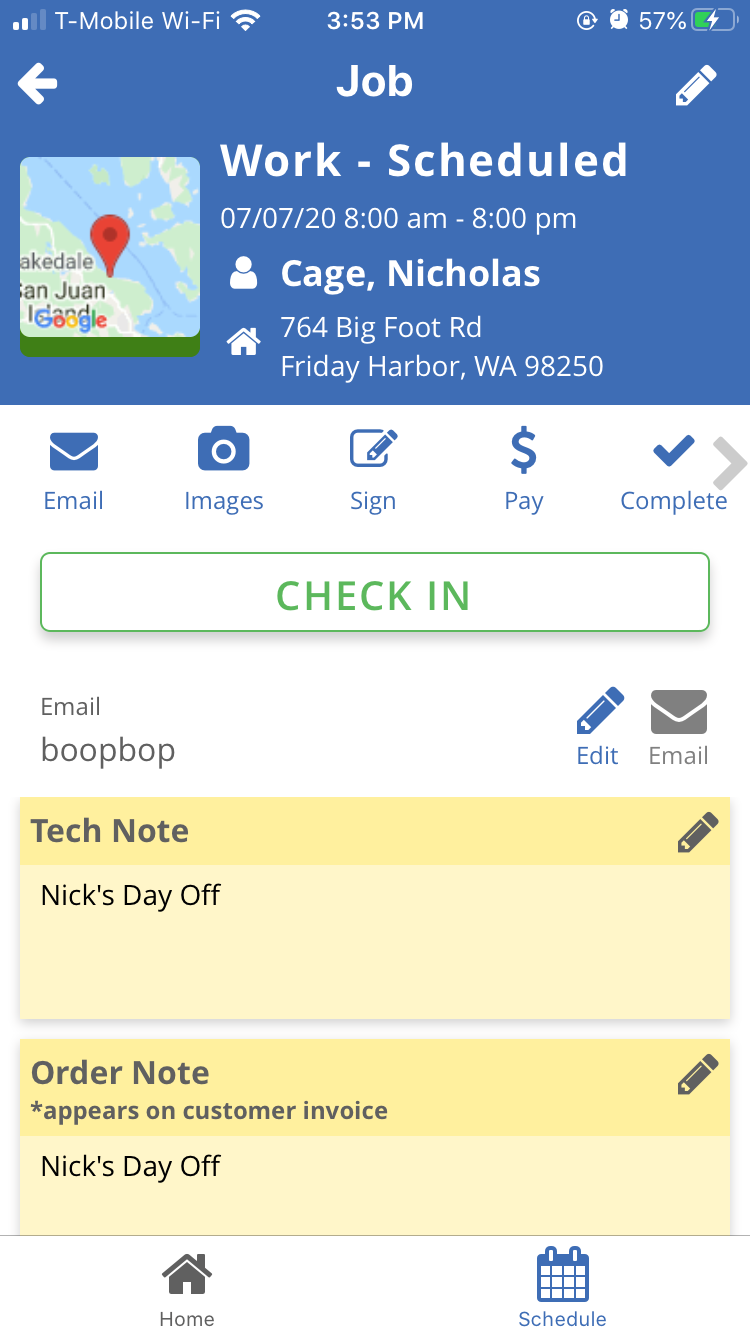
From here, click on the “Complete” button (above the “Check In”)
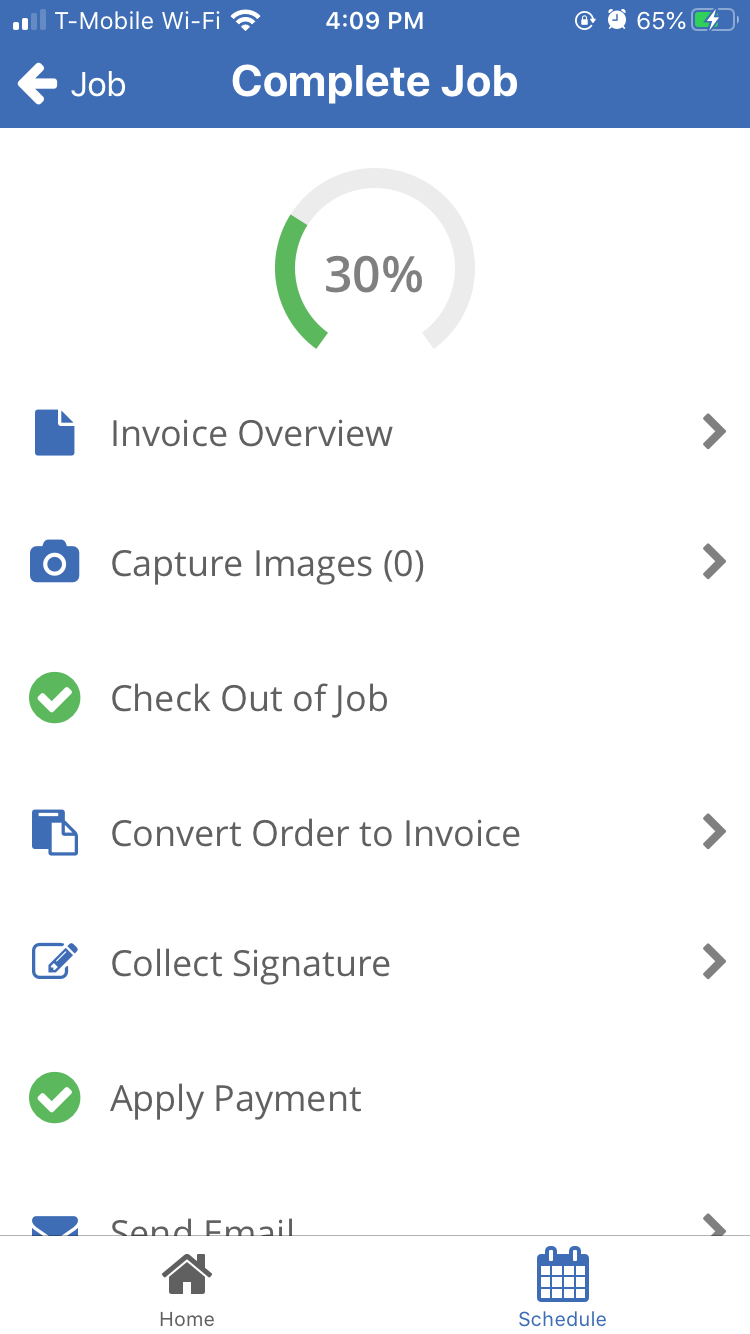
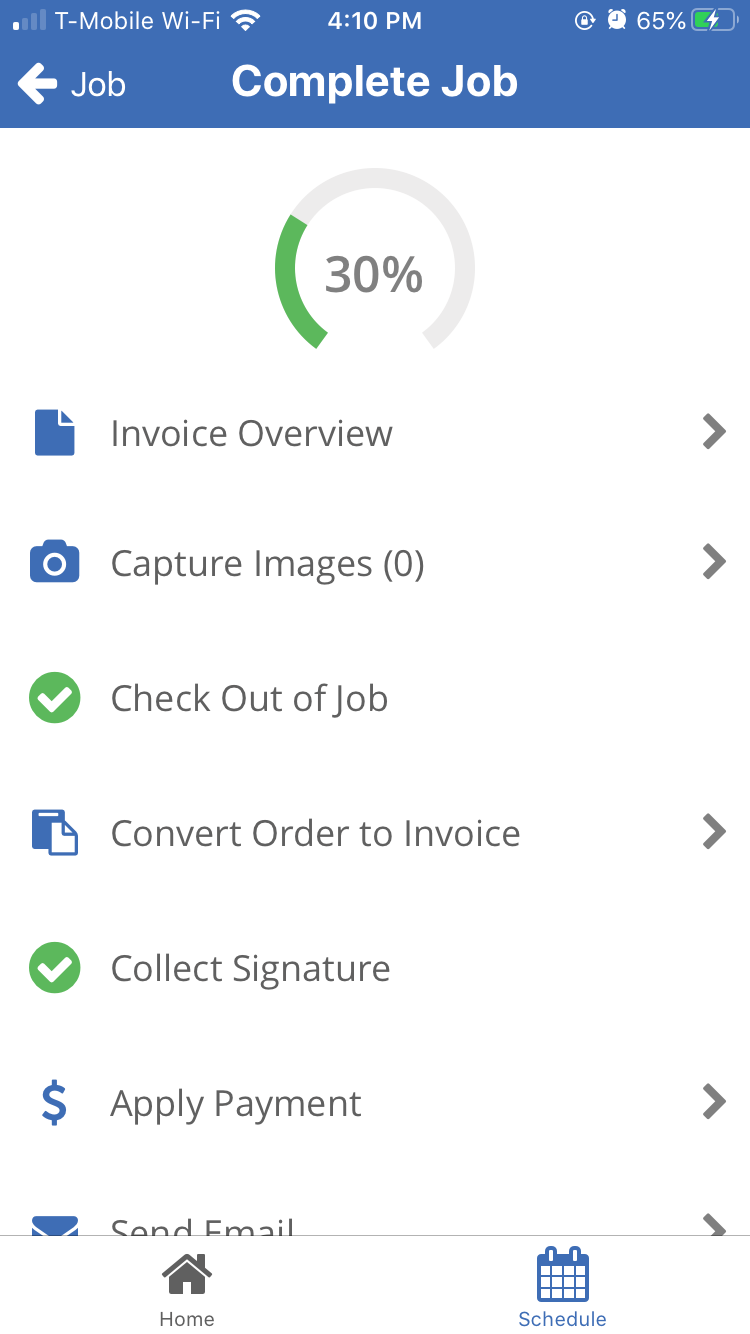
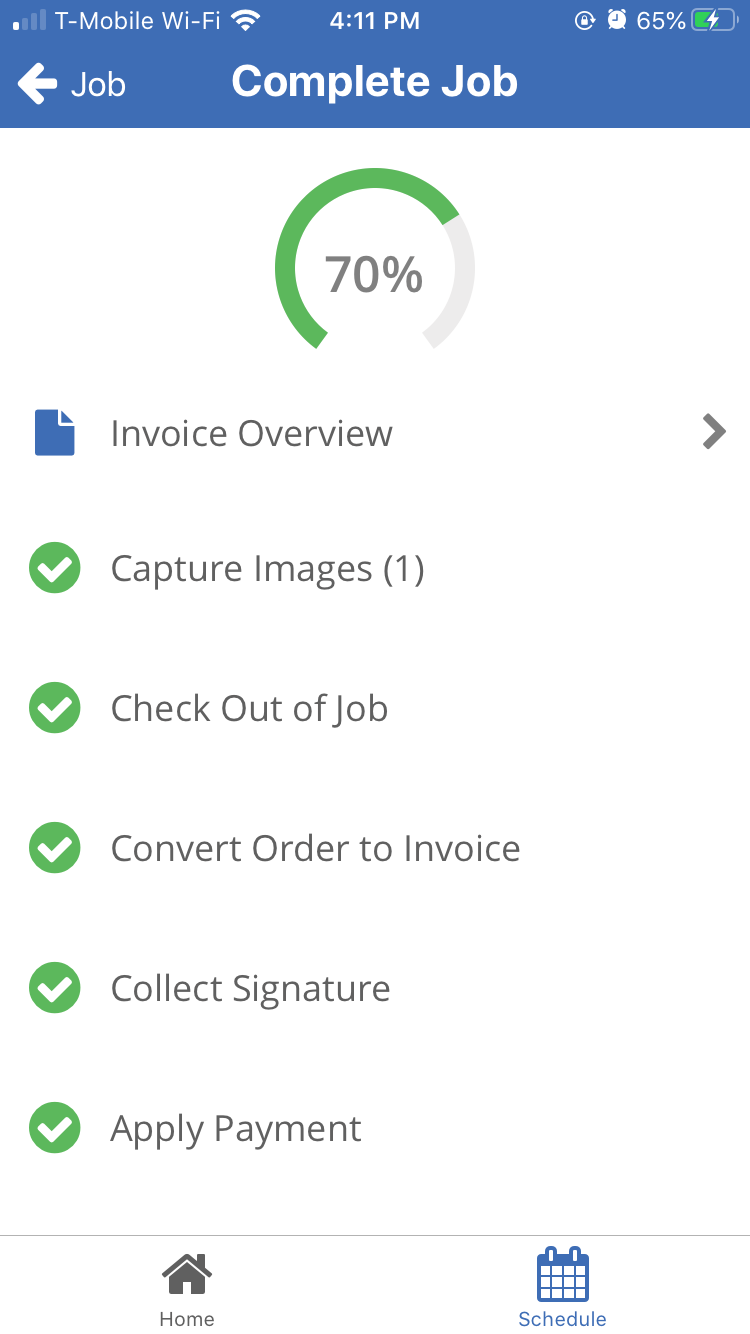
Here you can easily follow the steps of the completion wizard.
To start, click on the “Invoice Overview”
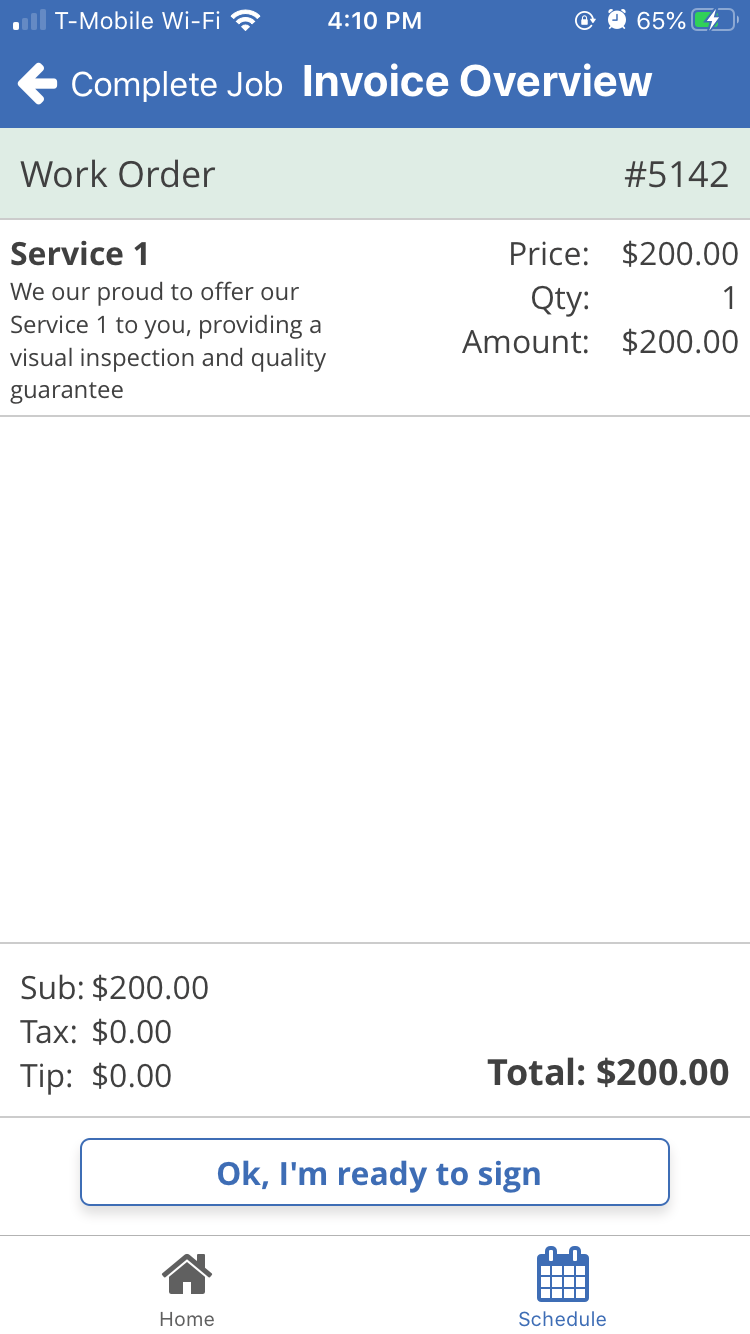
If everything looks good, either click “Okay I’m Ready to Sign” or go back to the Competition Wizard page and click “Convert Order to Invoice” to turn it into an invoice before signing.
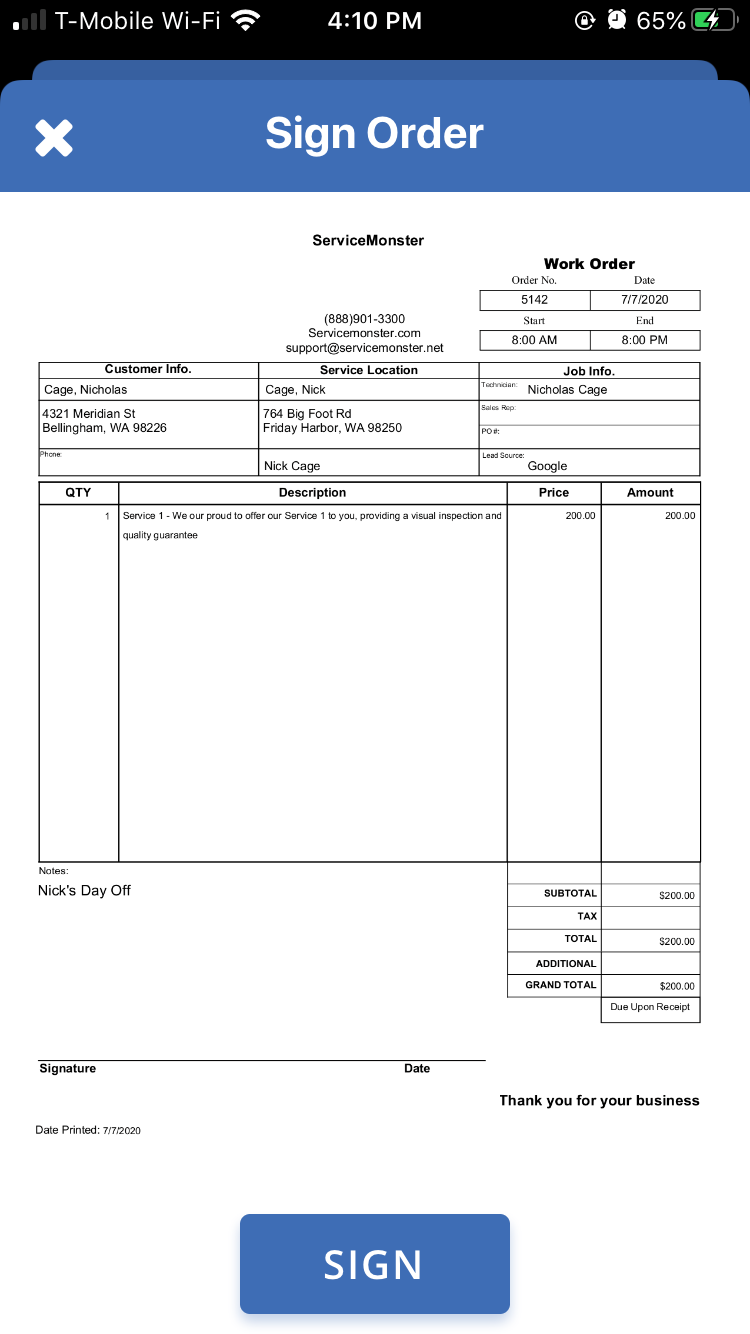
If you choose to turn the order into an invoice first, then click on the “Collect Signature” to collect a signature.
Next, add in or take photos of your work, click on the “Capture Images” button.
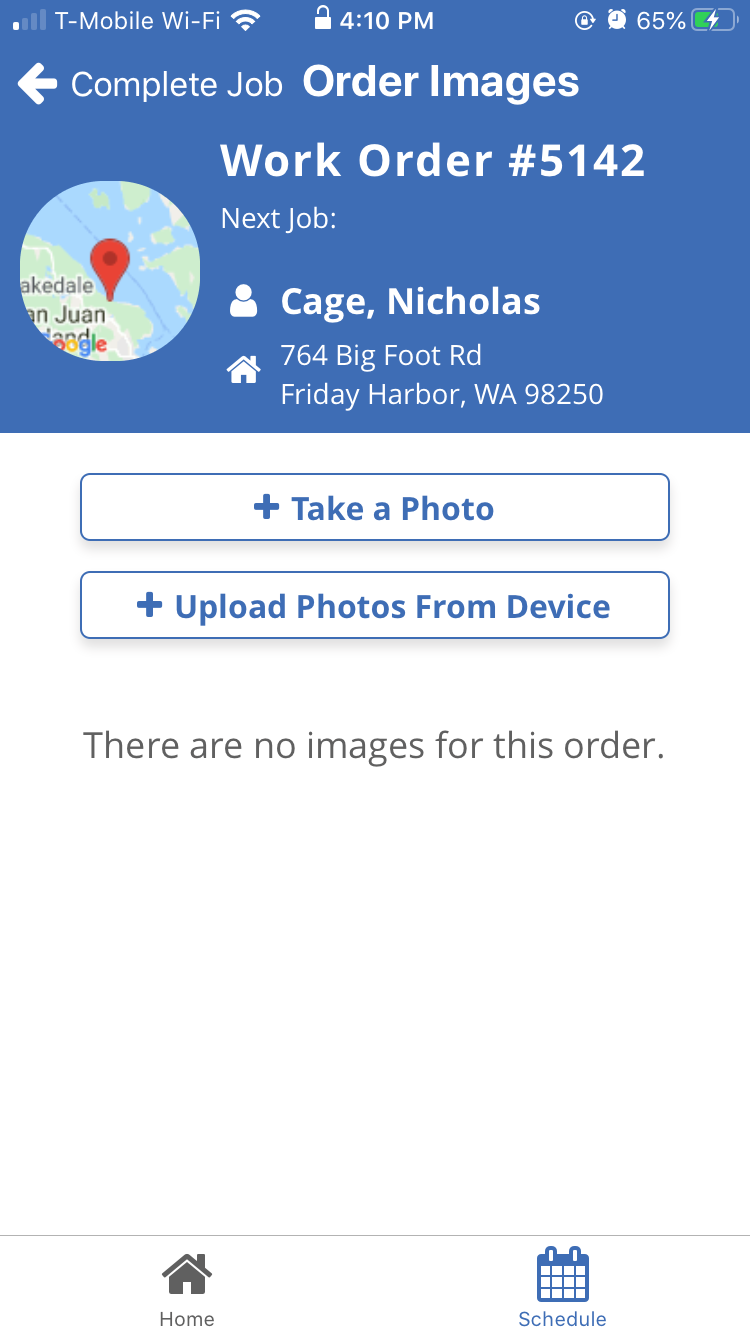
Choose to “+ Take a Photo” or “+ Upload Photos from Device”.

Next, if you haven’t already, click “Convert Order to Invoice” to turn the work order into an invoice.

Then, click “Apply Payment” to record the payments for that order.
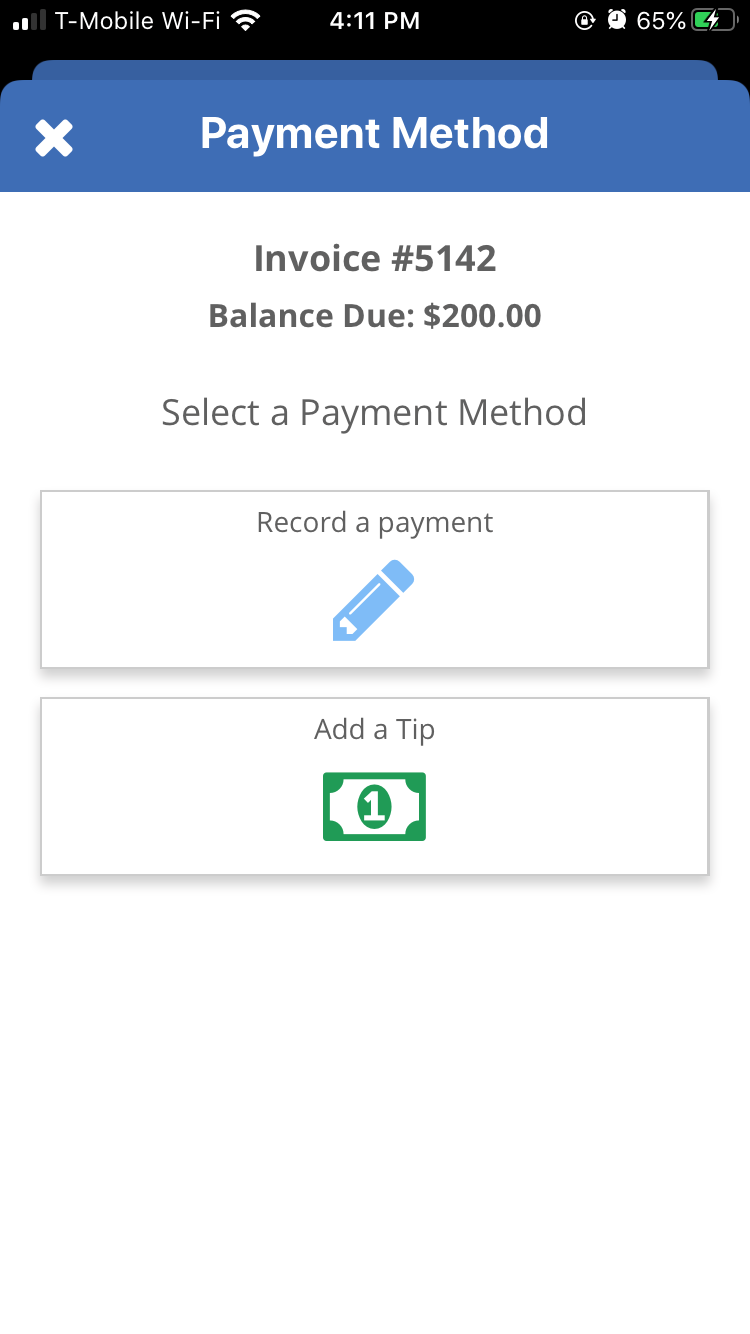
Here you can choose “Record a Payment” or “Add a Tip”
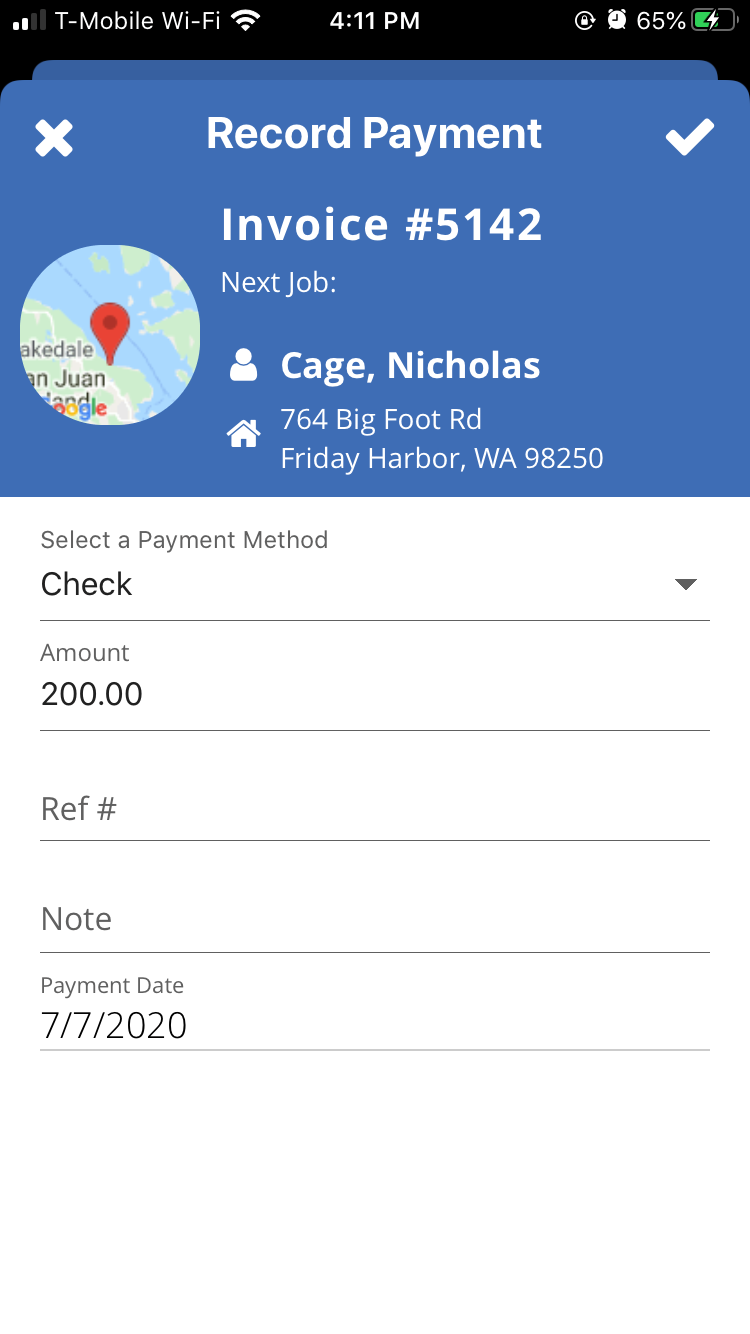
Choose your payment method, adjust the amount if needed, add a reference number or note, and then click on the check-mark on the upper right-hand corner of the app.
Scroll down on the Completion Wizard.
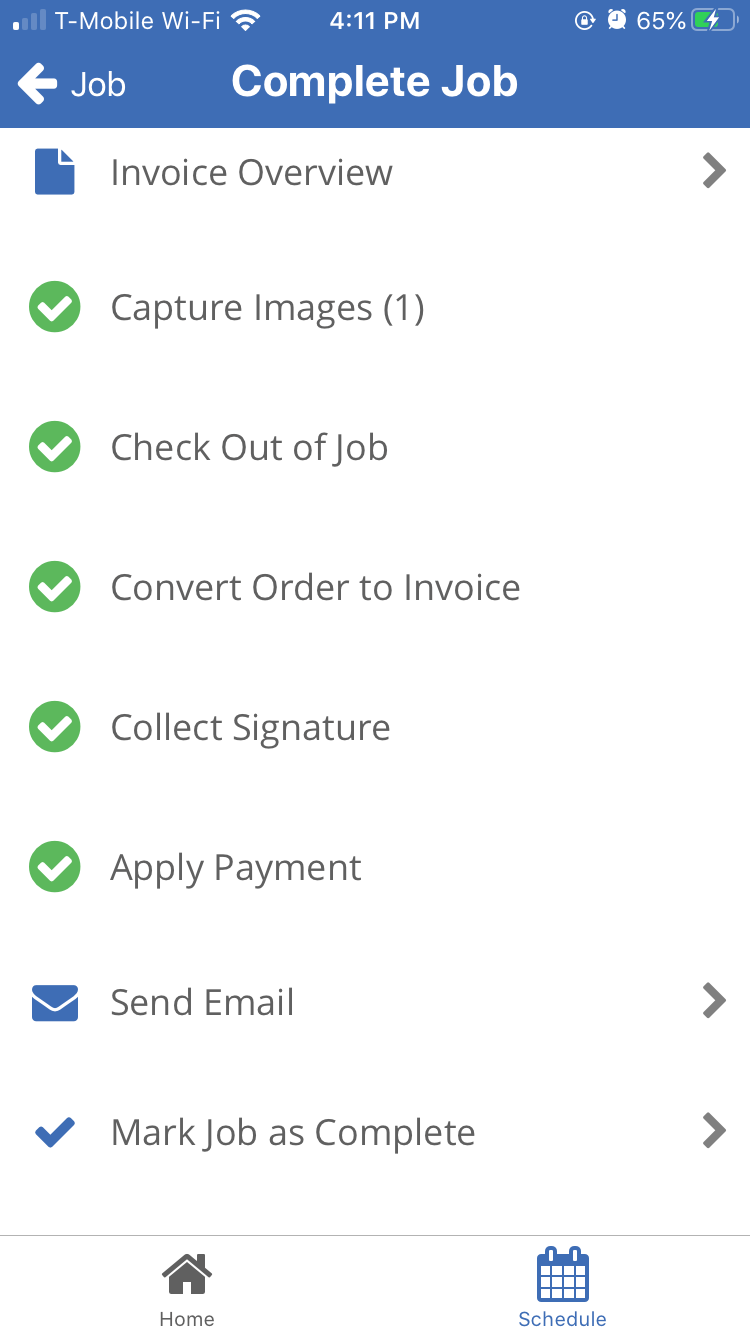
Click “Send Email” to send your client an email with the invoice.
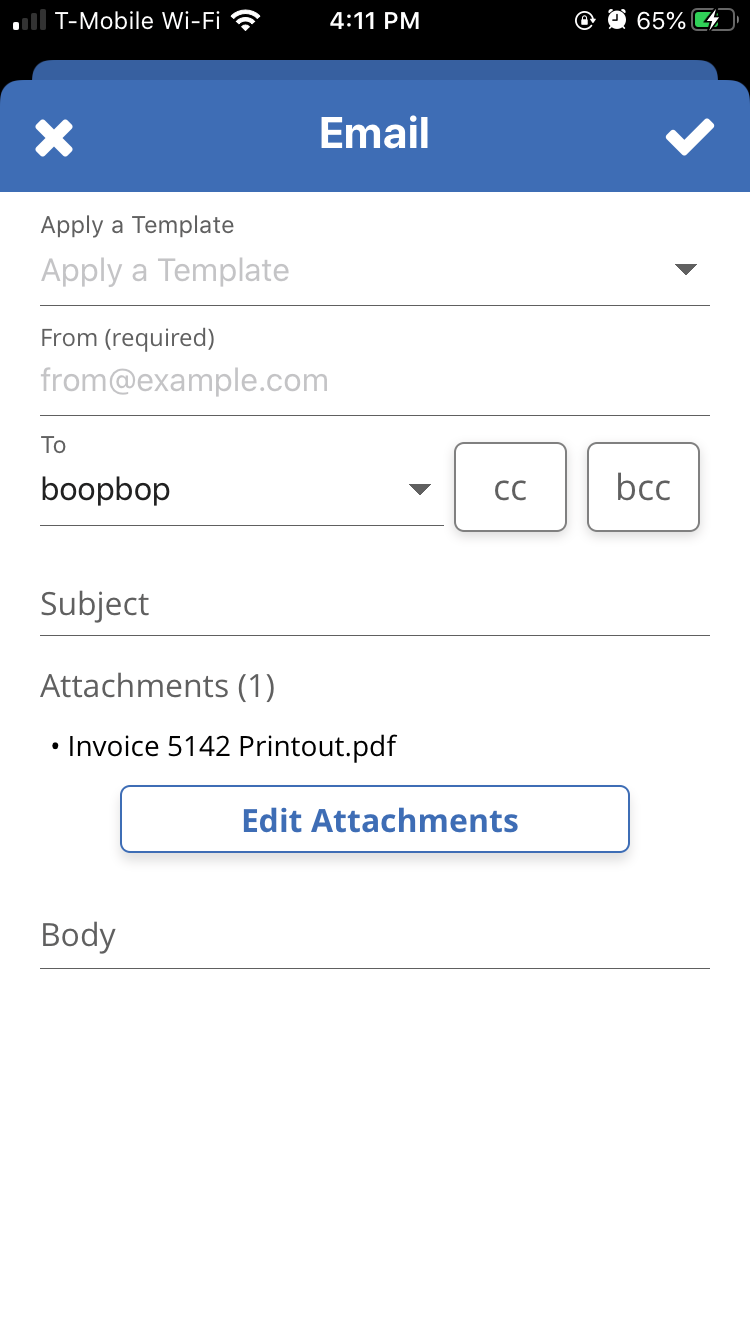
Choose a template to use, and make any adjustments as needed. You can attach images to the email by clicking on the “Edit Attachments” button.
Click on the check-mark in the upper right-hand corner to send the email.
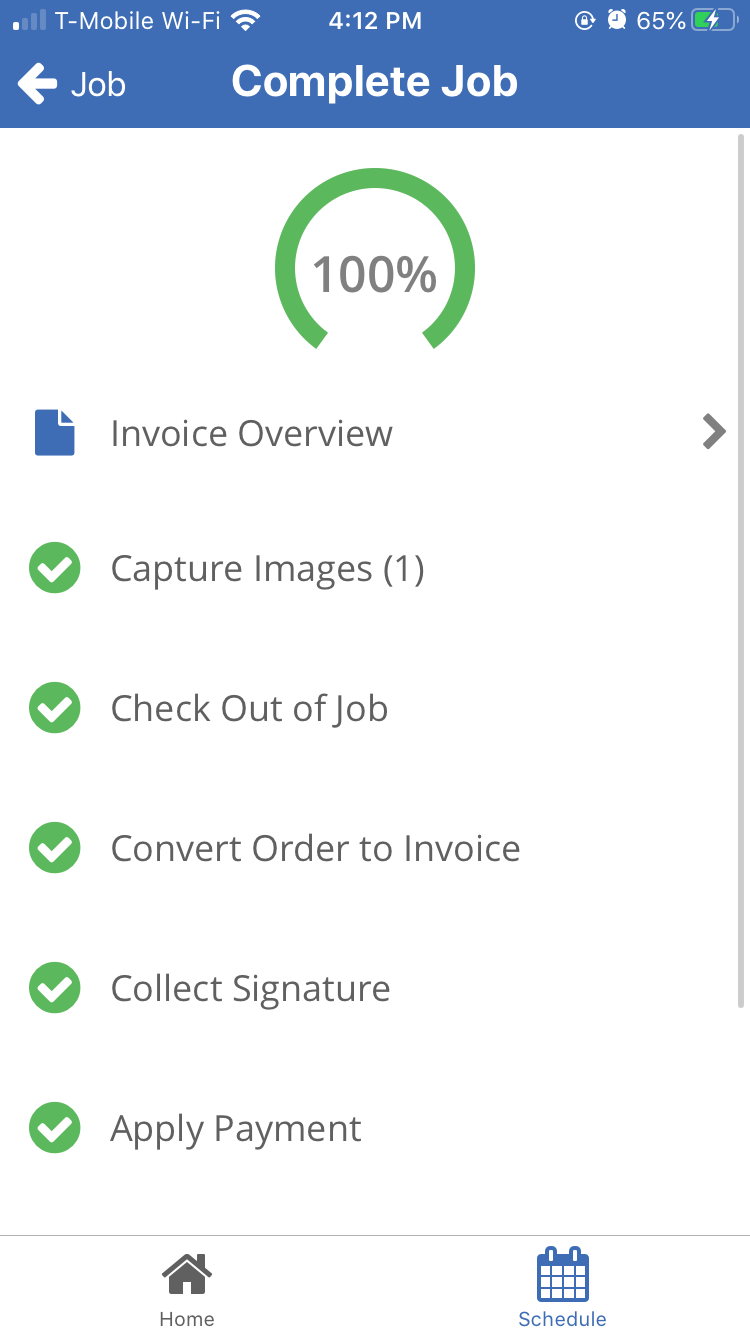
Lastly, once you’ve reached 100% for the job, scroll down and click “Mark as Complete”
The order is complete!